

First configuration: the look of your site
Also called: first setup, initial settings, customise my new site, Customizer walkthrough, style my site, where do I start in the Customizer, change the logo, upload my logo, logo size, site icon.
What this does
Section titled “What this does”A new Reign site needs about ten decisions. This page lists them in the order that makes each one easier than the last. Everything here is in the Customizer. Open it at Appearance > Customize, or use the Customize button in Reign Settings.
Before you start
Section titled “Before you start”Reign keeps some older options for sites that have used them for years. The Customizer marks them legacy and puts them below the recommended ones. On a new site you can ignore every one of them.
1. Site Identity
Section titled “1. Site Identity”- Go to Customize > Site Identity.
- Upload your Logo and set Logo Size.
- Add a Site Icon. This is the image browsers show in tabs and bookmarks.
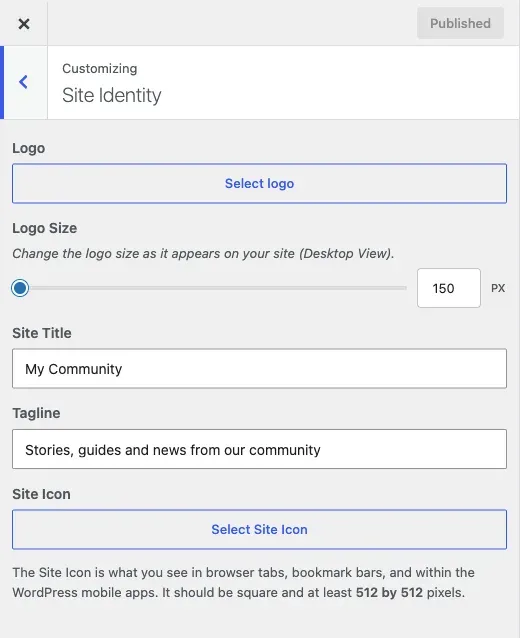
The phone logo is separate. You set it later, in the Header step.
2. Colour palette
Section titled “2. Colour palette”- Go to Customize > Color Options > Color Palette.
- Pick a palette. It sets your colours across the whole theme in one move.
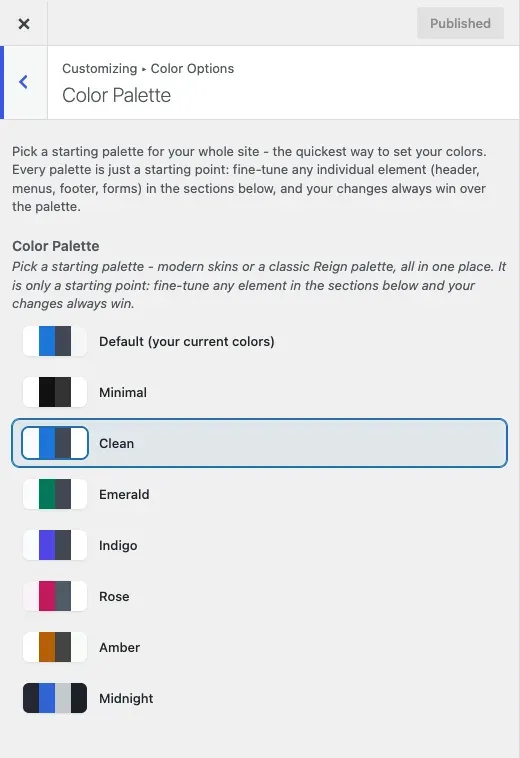
For most sites this is the only colour choice you need. Resist picking single colours by hand. That section has several hundred controls, and anything you set there wins over the palette at that spot. Use the palette first, then change only what truly needs it. See how the colour system works.
3. Light and dark mode
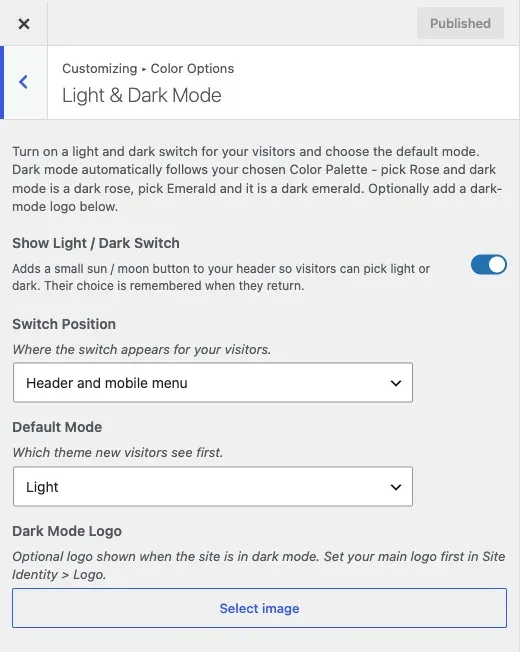
Section titled “3. Light and dark mode”- Go to Customize > Color Options > Light & Dark Mode.
- Turn on the light and dark switch to give visitors a toggle.
- Set the default mode, which can follow the visitor’s device. Set where the switch sits.
4. Header
Section titled “4. Header”Go to Customize > Header. It has five sections. Do them in this order.
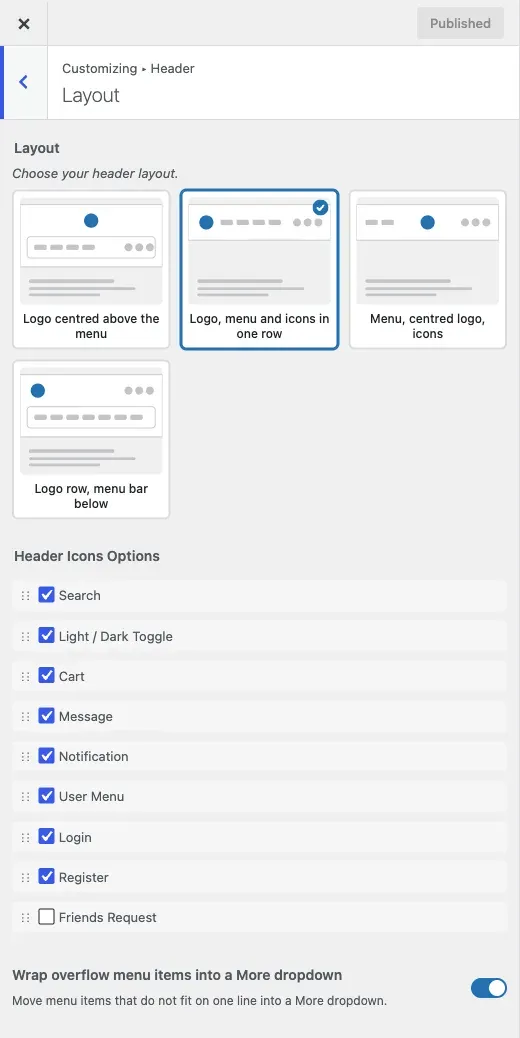
- Layout. Choose the header style, the icons and how a long menu folds away.
- Topbar. This is the thin strip above the header. Turn it on and add info links and social links. Info links show first.
- Sticky Menu. Turn sticky-on-scroll on or off. The stuck header uses the same colours as the normal header.
- Mobile Menu. Set the phone header layout. You can also add a separate phone logo and size.
- Left Panel. This is an optional side menu with icons. Its settings are grouped into behaviour, size and spacing, icon, and menu text. Its colours come from your palette, not from this section.
5. Typography
Section titled “5. Typography”- Go to Customize > Typography.
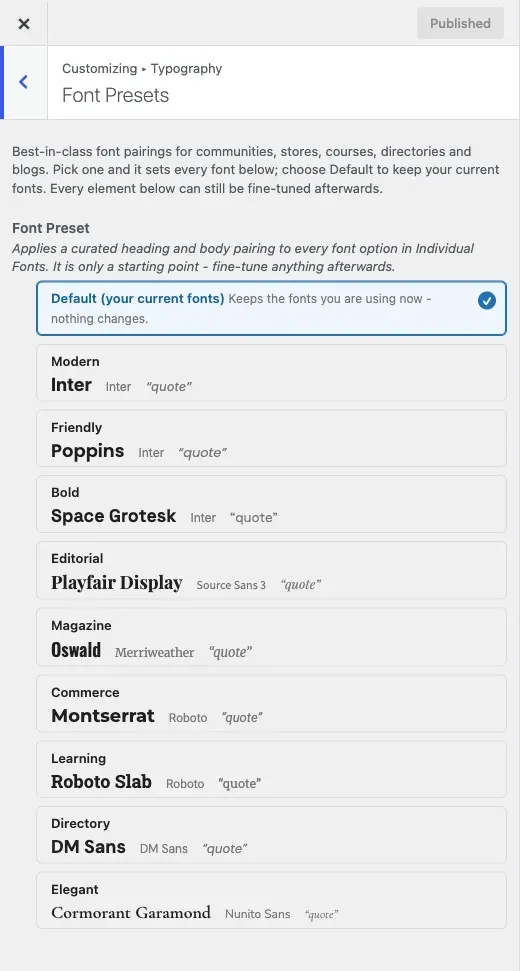
- Start with Font Presets. A preset sets the heading and body fonts and the sizes together. It is one choice instead of twenty.
- If you need more control, open Individual Fonts. There you set the body font, each heading level, the menu and quotes one by one.
6. Content layouts
Section titled “6. Content layouts”- Go to Customize > Content Layouts.
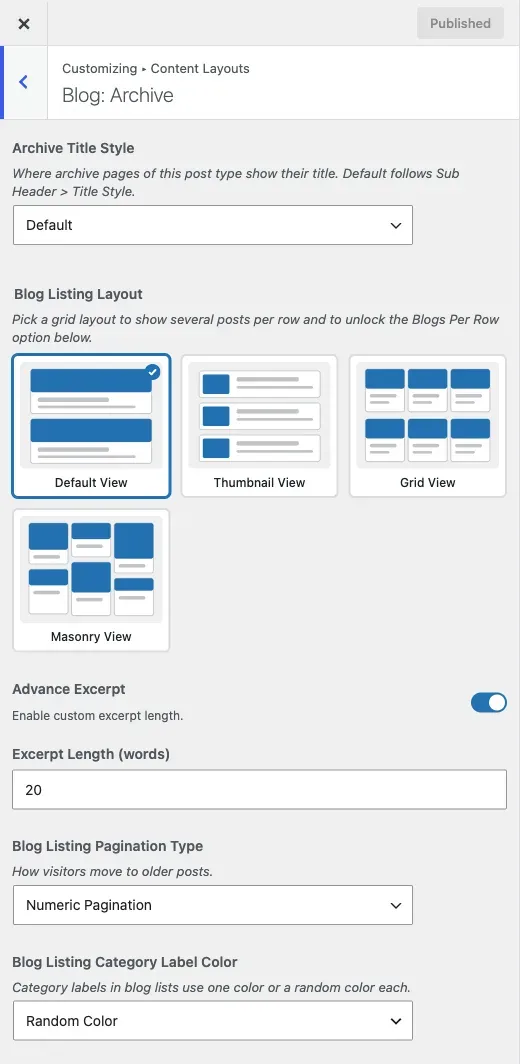
- Pick a section. Reign makes one for each kind of content, such as Blog: Single, Blog: Archive, Page: Single and Pages: Search. Every custom post type from your plugins gets a pair.
- Choose the layout and whether it has a left or right sidebar.
Two settings catch people out.
- Page Title Style sets where a page shows its title. By default the title is in the content, with no band. Choose Sub header to show the band.
- For a grid blog layout, pick the grid listing layout first. Only then does Blogs Per Row appear.
7. Sign-in and register popup
Section titled “7. Sign-in and register popup”- Go to Customize > General > Sign-in popup. This step is optional.
- Turn on the popup and set the redirects and labels.
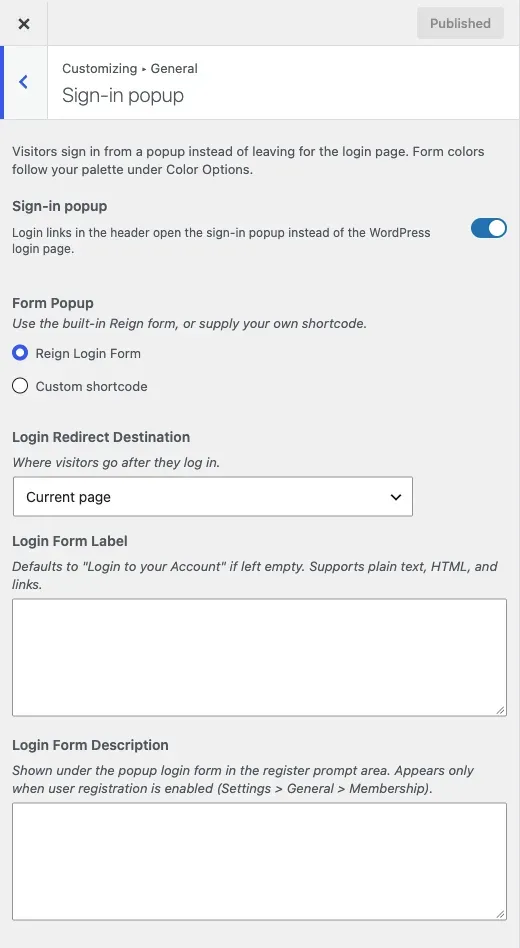
The popup is for logging in only. Its register links go to your registration page. If BuddyPress is active, the fields on the register page come from Users > Profile Fields, not from the theme.
8. Footer
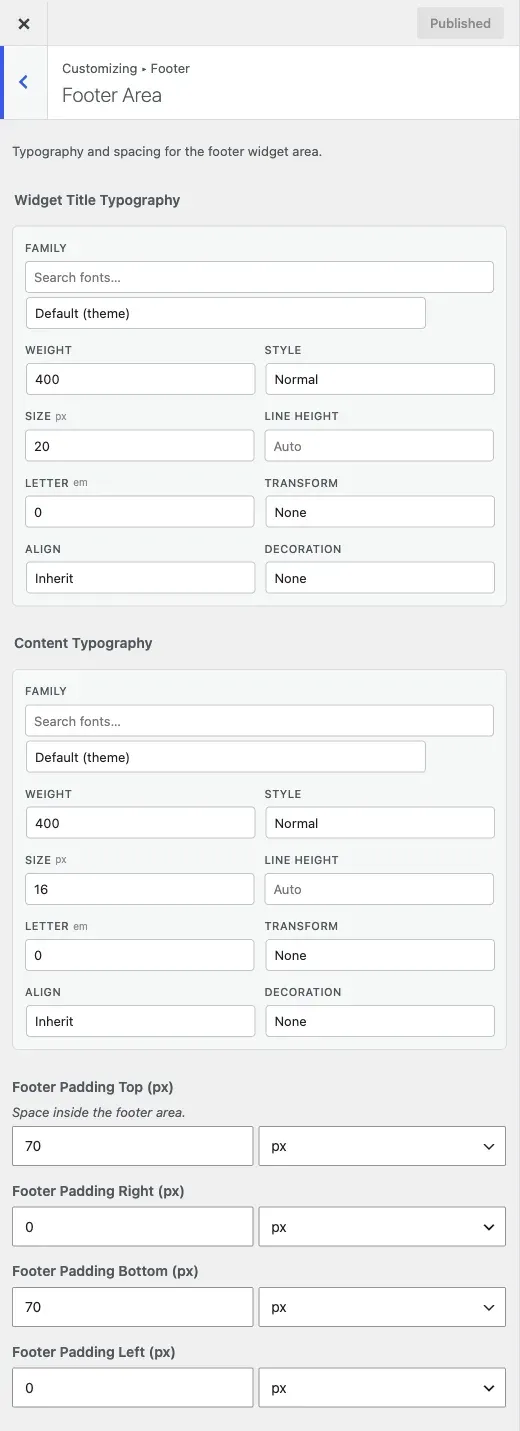
Section titled “8. Footer”- Go to Customize > Footer.
- Use Footer Area for the widget area’s fonts and spacing.
- Use Copyright for the bottom bar text, its alignment and its colours.
9. Branded login screen
Section titled “9. Branded login screen”- Go to Customize > Branded Login & Register. This step is optional.
- Set the logo, background, form and button.
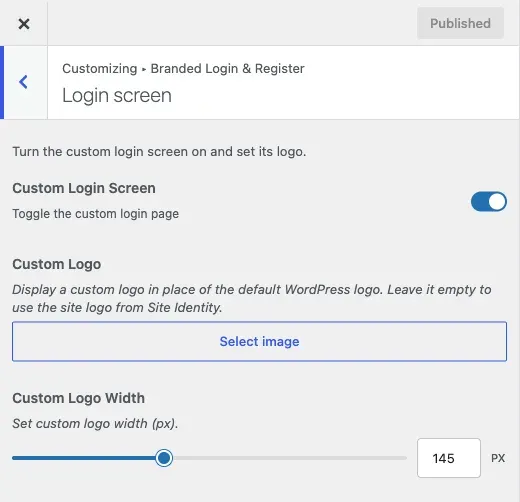
It restyles the WordPress login page. It is worth doing on a membership site, where people see that page often.
10. Finishing touches
Section titled “10. Finishing touches”Go to Customize > General > Global Layout. Here you set the container widths and the corner rounding for buttons and forms. You can also turn on the scroll-up button and a loading animation.
You’ll know it worked when
Section titled “You’ll know it worked when”Load the front of your site. You see your logo, your colours and your fonts. Check the header, a blog list, a single post and a page, at desktop and phone width. Most first-pass mistakes show up in the header on a phone.
Good to know
Section titled “Good to know”A change does not show on my site. Why?
Section titled “A change does not show on my site. Why?”Clear any caching plugin and your browser cache, then reload. Changes are not showing on the site lists the other causes.
Where is each of these on a real page?
Section titled “Where is each of these on a real page?”What do you want to change? labels a whole page and links each part to its settings.