The Events Calendar plugin streamlines the creation and organization of events calendars on websites. It simplifies tasks such as event creation, scheduling dates and times, providing venue details, RSVP options, and facilitating ticketing or registration.
Reign Theme seamlessly integrates with The Events Calendar, making it effortless to craft a dynamic event-promoting website.
Setting up an event calendar is a straightforward process.
You can install and activate the Reign Theme from the Appearance> Themes also you can purchase the Reign Theme from the link : https://wbcomdesigns.com/downloads/reign-buddypress-theme/
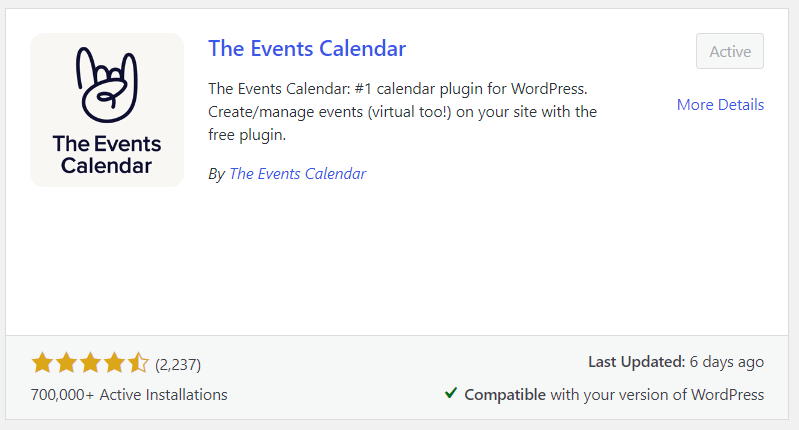
To install The Events Calendar plugin navigate to the Plugin> Add New> Search for “The Events Calendar”. After locating the plugin, click “Install Now,” and upon completion, click “Activate” to finalize the installation process.
Or
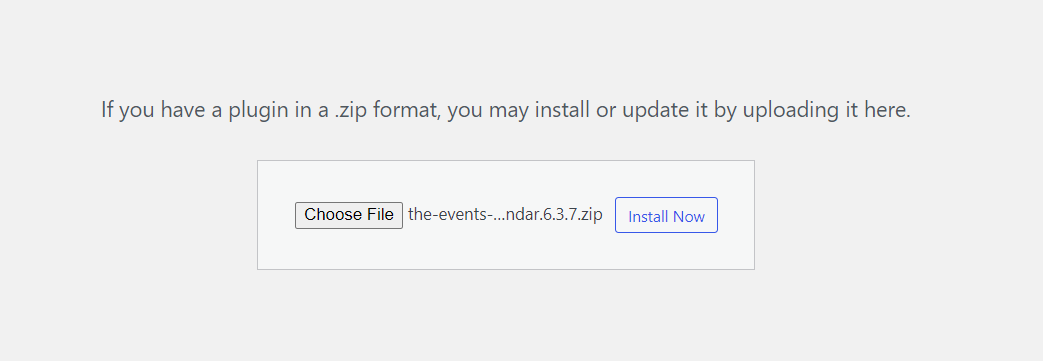
If you’ve bought the Event Calendar Pro plugin, you’ll receive a link to download the plugin’s ZIP file. To install it, follow these steps: Go to Plugins > Add New > Upload Plugin, then choose the ZIP file from your computer and install it.
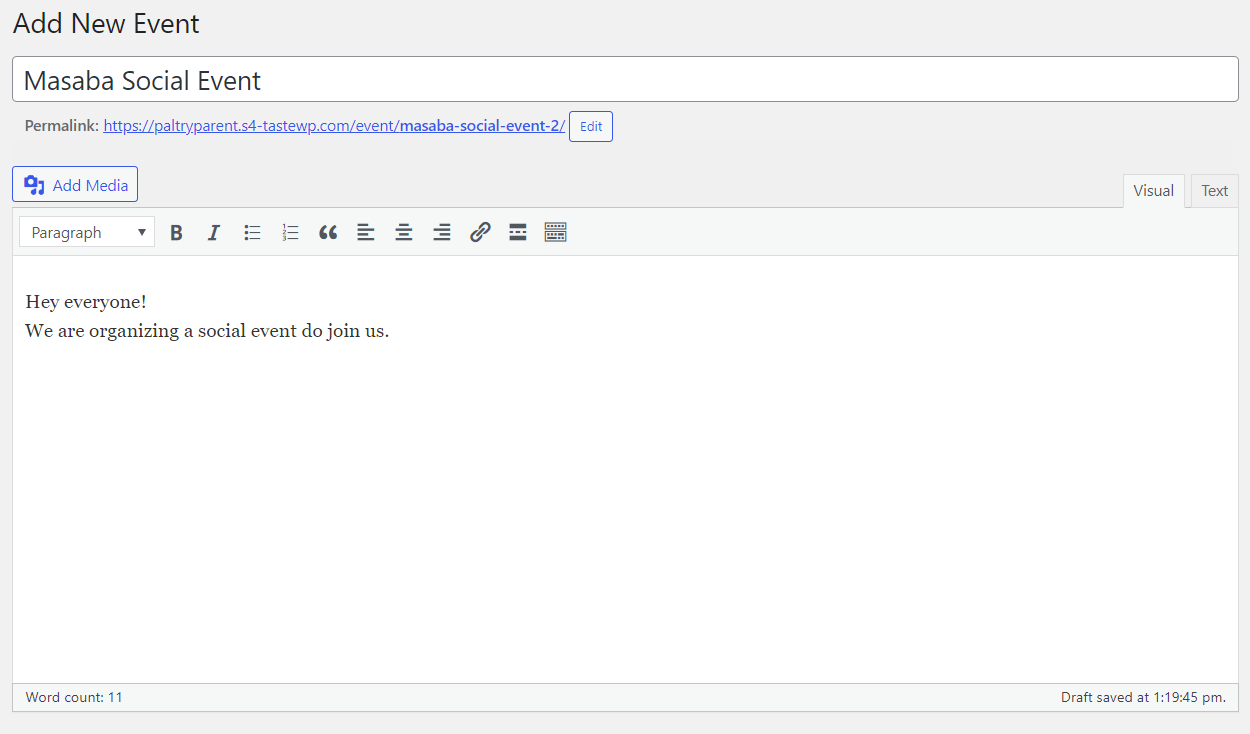
Creating Events
To start creating events after installing and activating The Events Calendar plugin, simply go to Events > Add New Event.
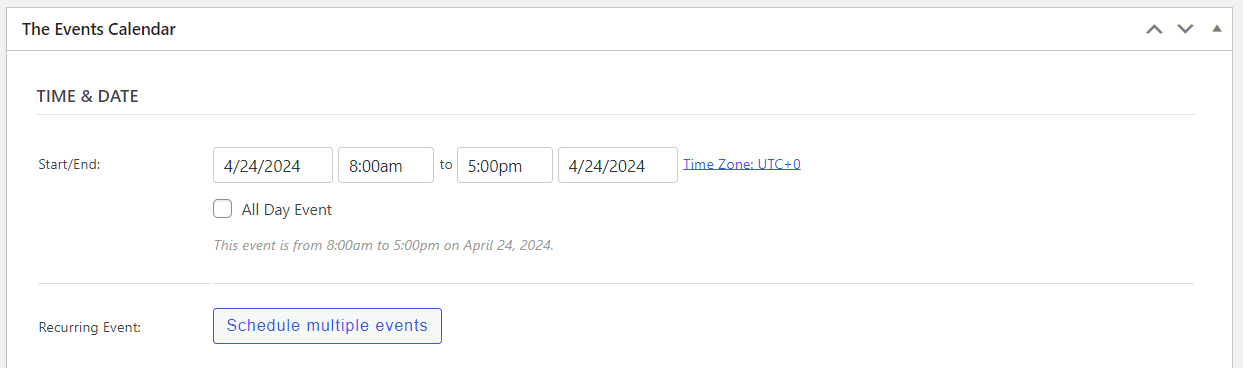
Event Time
Once you’ve added a title and description, scroll down to specify the date and time of the event. In the Time & Date section, you’ll find two important options: Start/End and All Day Event.
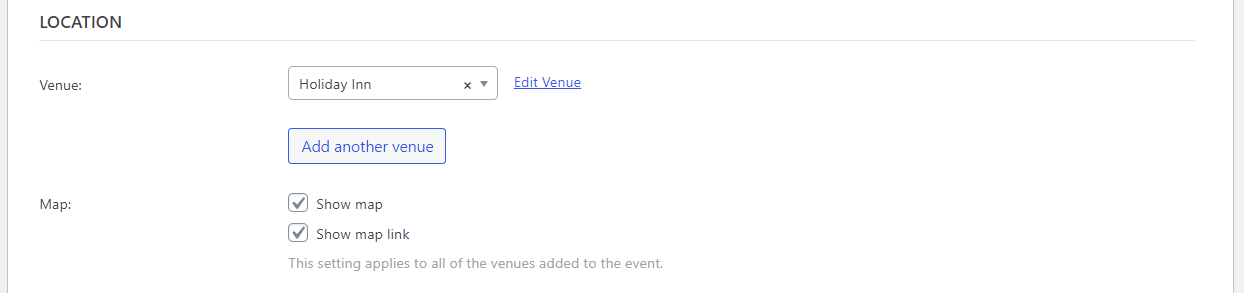
Event Venue
In the location enter the venue details.
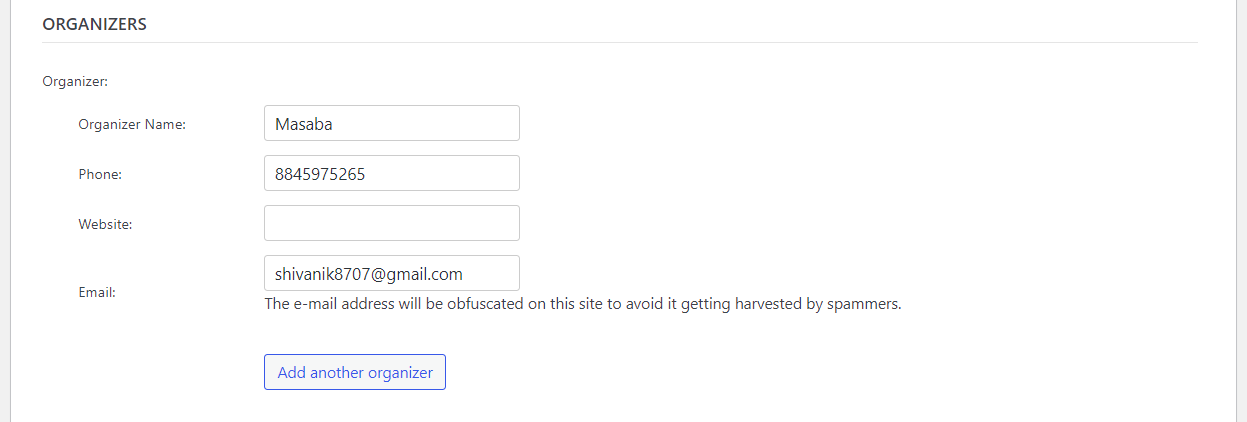
Event Organizers
In the Organizer section, provide the organizer’s name, address, phone number, and email address. You can also include multiple organizers for a single event if needed.
Event Website
In this section you can add the website URL for the specific event.

You are done publish the event.
Frontend View

Event Calendar Ticket
The Tickets functionality in the Event Calendar Ticket plugin greatly enriches the event organization experience. It’s aimed at nurturing community involvement and cooperation by empowering users to participate in and sell tickets for events hosted on your platform.
To install Events Calendar Ticket plugin, go to Plugins > Add New > Search for “Events Calendar Ticket”. Once you find the plugin, click “Install Now”, and after it finishes, click “Activate” to complete the installation.
Upon activating the plugin, you’ll find the Ticket option on the left side of the sidebar. Navigate to the settings under the ticket tab to configure your preferences.
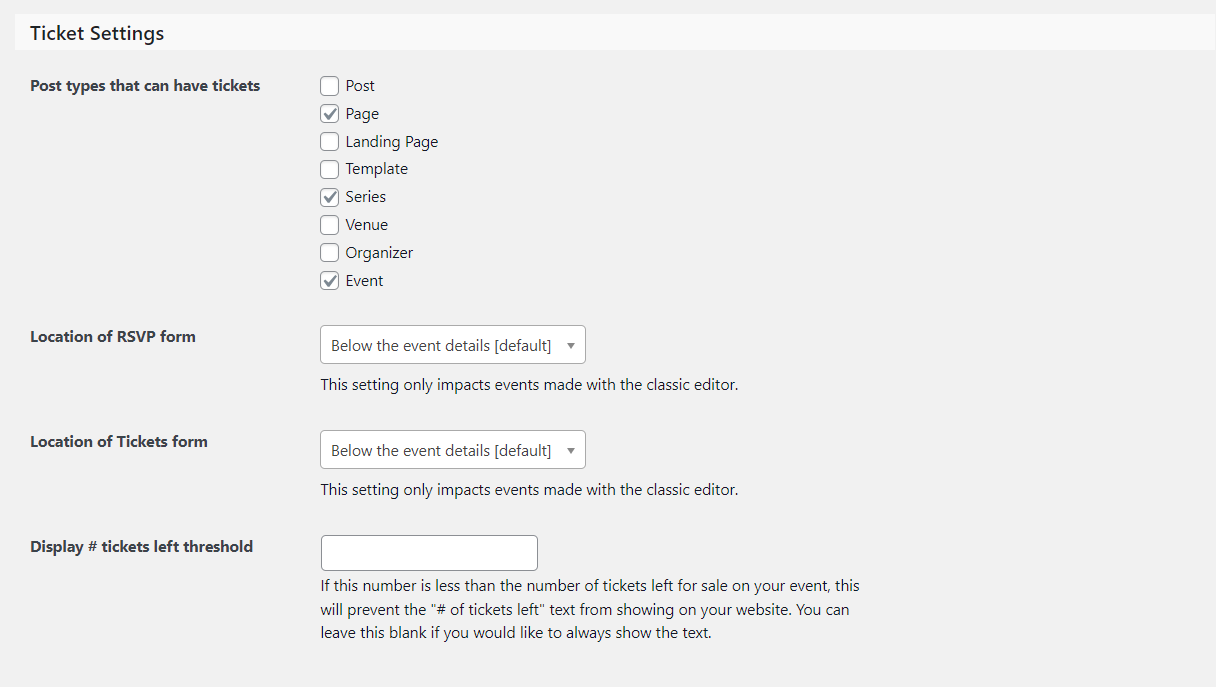
Fill in the required information according to your needs, including login requirements such as user login requirements, and then save the details.

Now go to the event from the left sidebar select the one event you want to sell tickets for and click edit.
Scroll down until you find the ticket option. Here, you’ll see options like: New Ticket and New RSVP.

Click on “New Ticket”, where you can enter the details of the tickets, including dates, price, and capacity.

After filling in all these details, save the ticket.
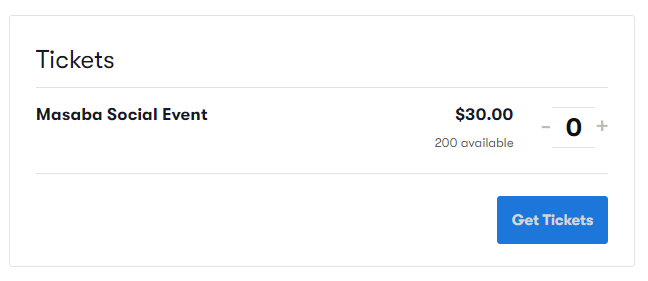
Frontend View
The Event Calendar: Community Events and The Event Calendar: Community Events Tickets Addons.
The Community Events add-on and Community Events Tickets Addons addons empowers your community by enabling direct event submissions to your website. Rather than manually creating each event via the backend, you can now offer your users a seamless experience.
These plugins are a premium add-on and you can get it from eventscalendar.com
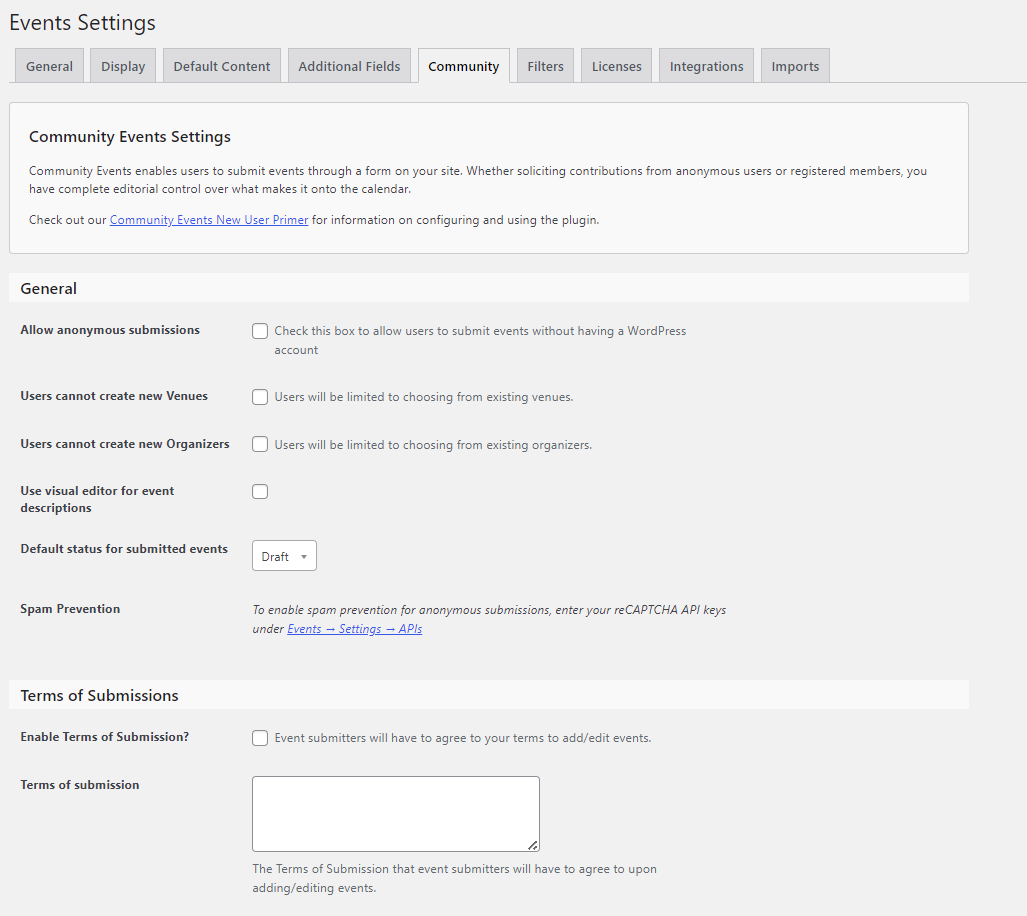
After obtaining both plugins, to access the setting navigate to Events> Settings> Community.
Here you will find various settings for community events which will allow users to create events from frontend.
For easy access to the “Community Submit Event” page, for the users follow these steps:
- Copy the page URL of the community submit event and go to your admin dashboard.
- Navigate to “Appearance” > “Menus.”
- Choose a menu location or create a new menu.
- In the “Custom Links” section, paste the URL and label it as “Submit an Event.”
- Click “Add to Menu” and save the changes.
- Now, users can quickly find the “Submit an Event” link on your menu, providing swift access to the event submission form.
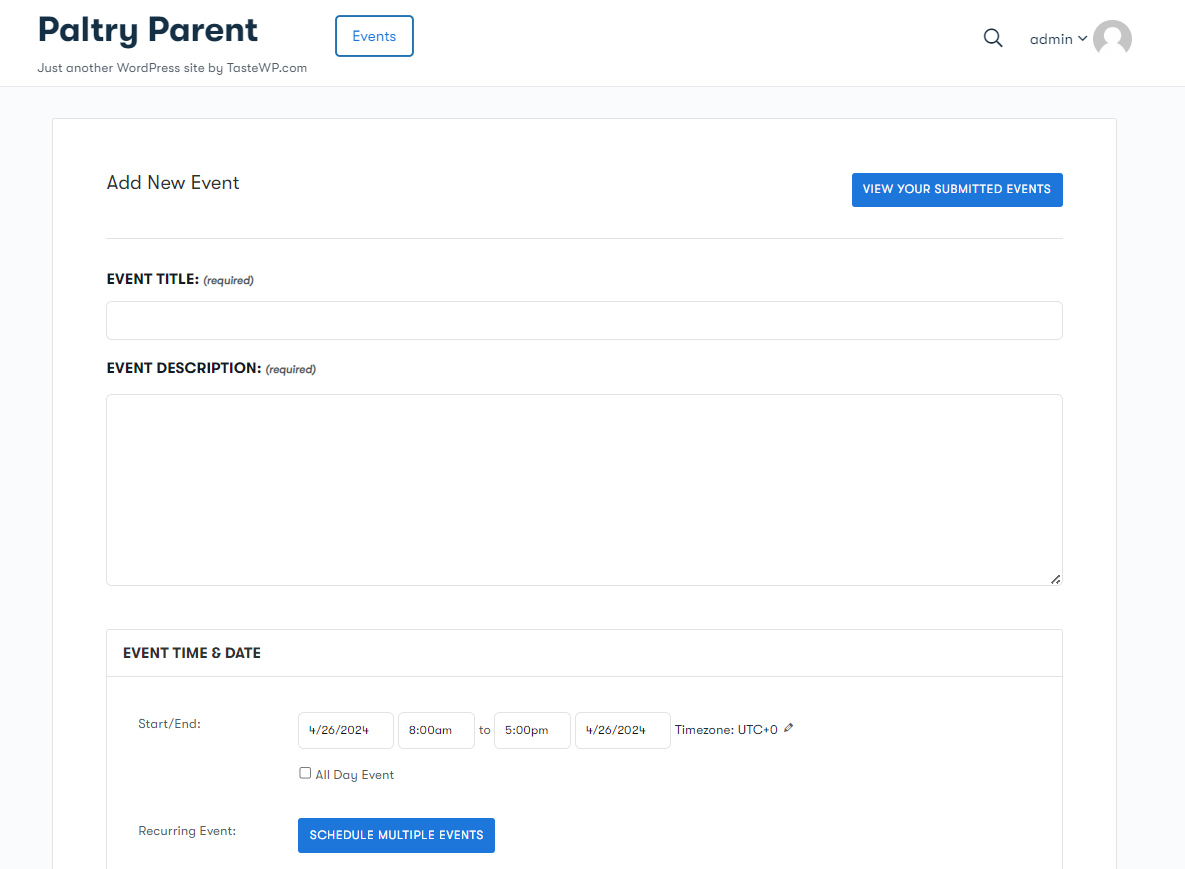
After filling all the details in the form the users can submit the event from the frontend.
For the more better understanding you can watch the videos given below.