

Quick Start
Once the plugin is active and the setup wizard has run, here’s the fastest path to a working public roadmap.
Add your first item
Section titled “Add your first item”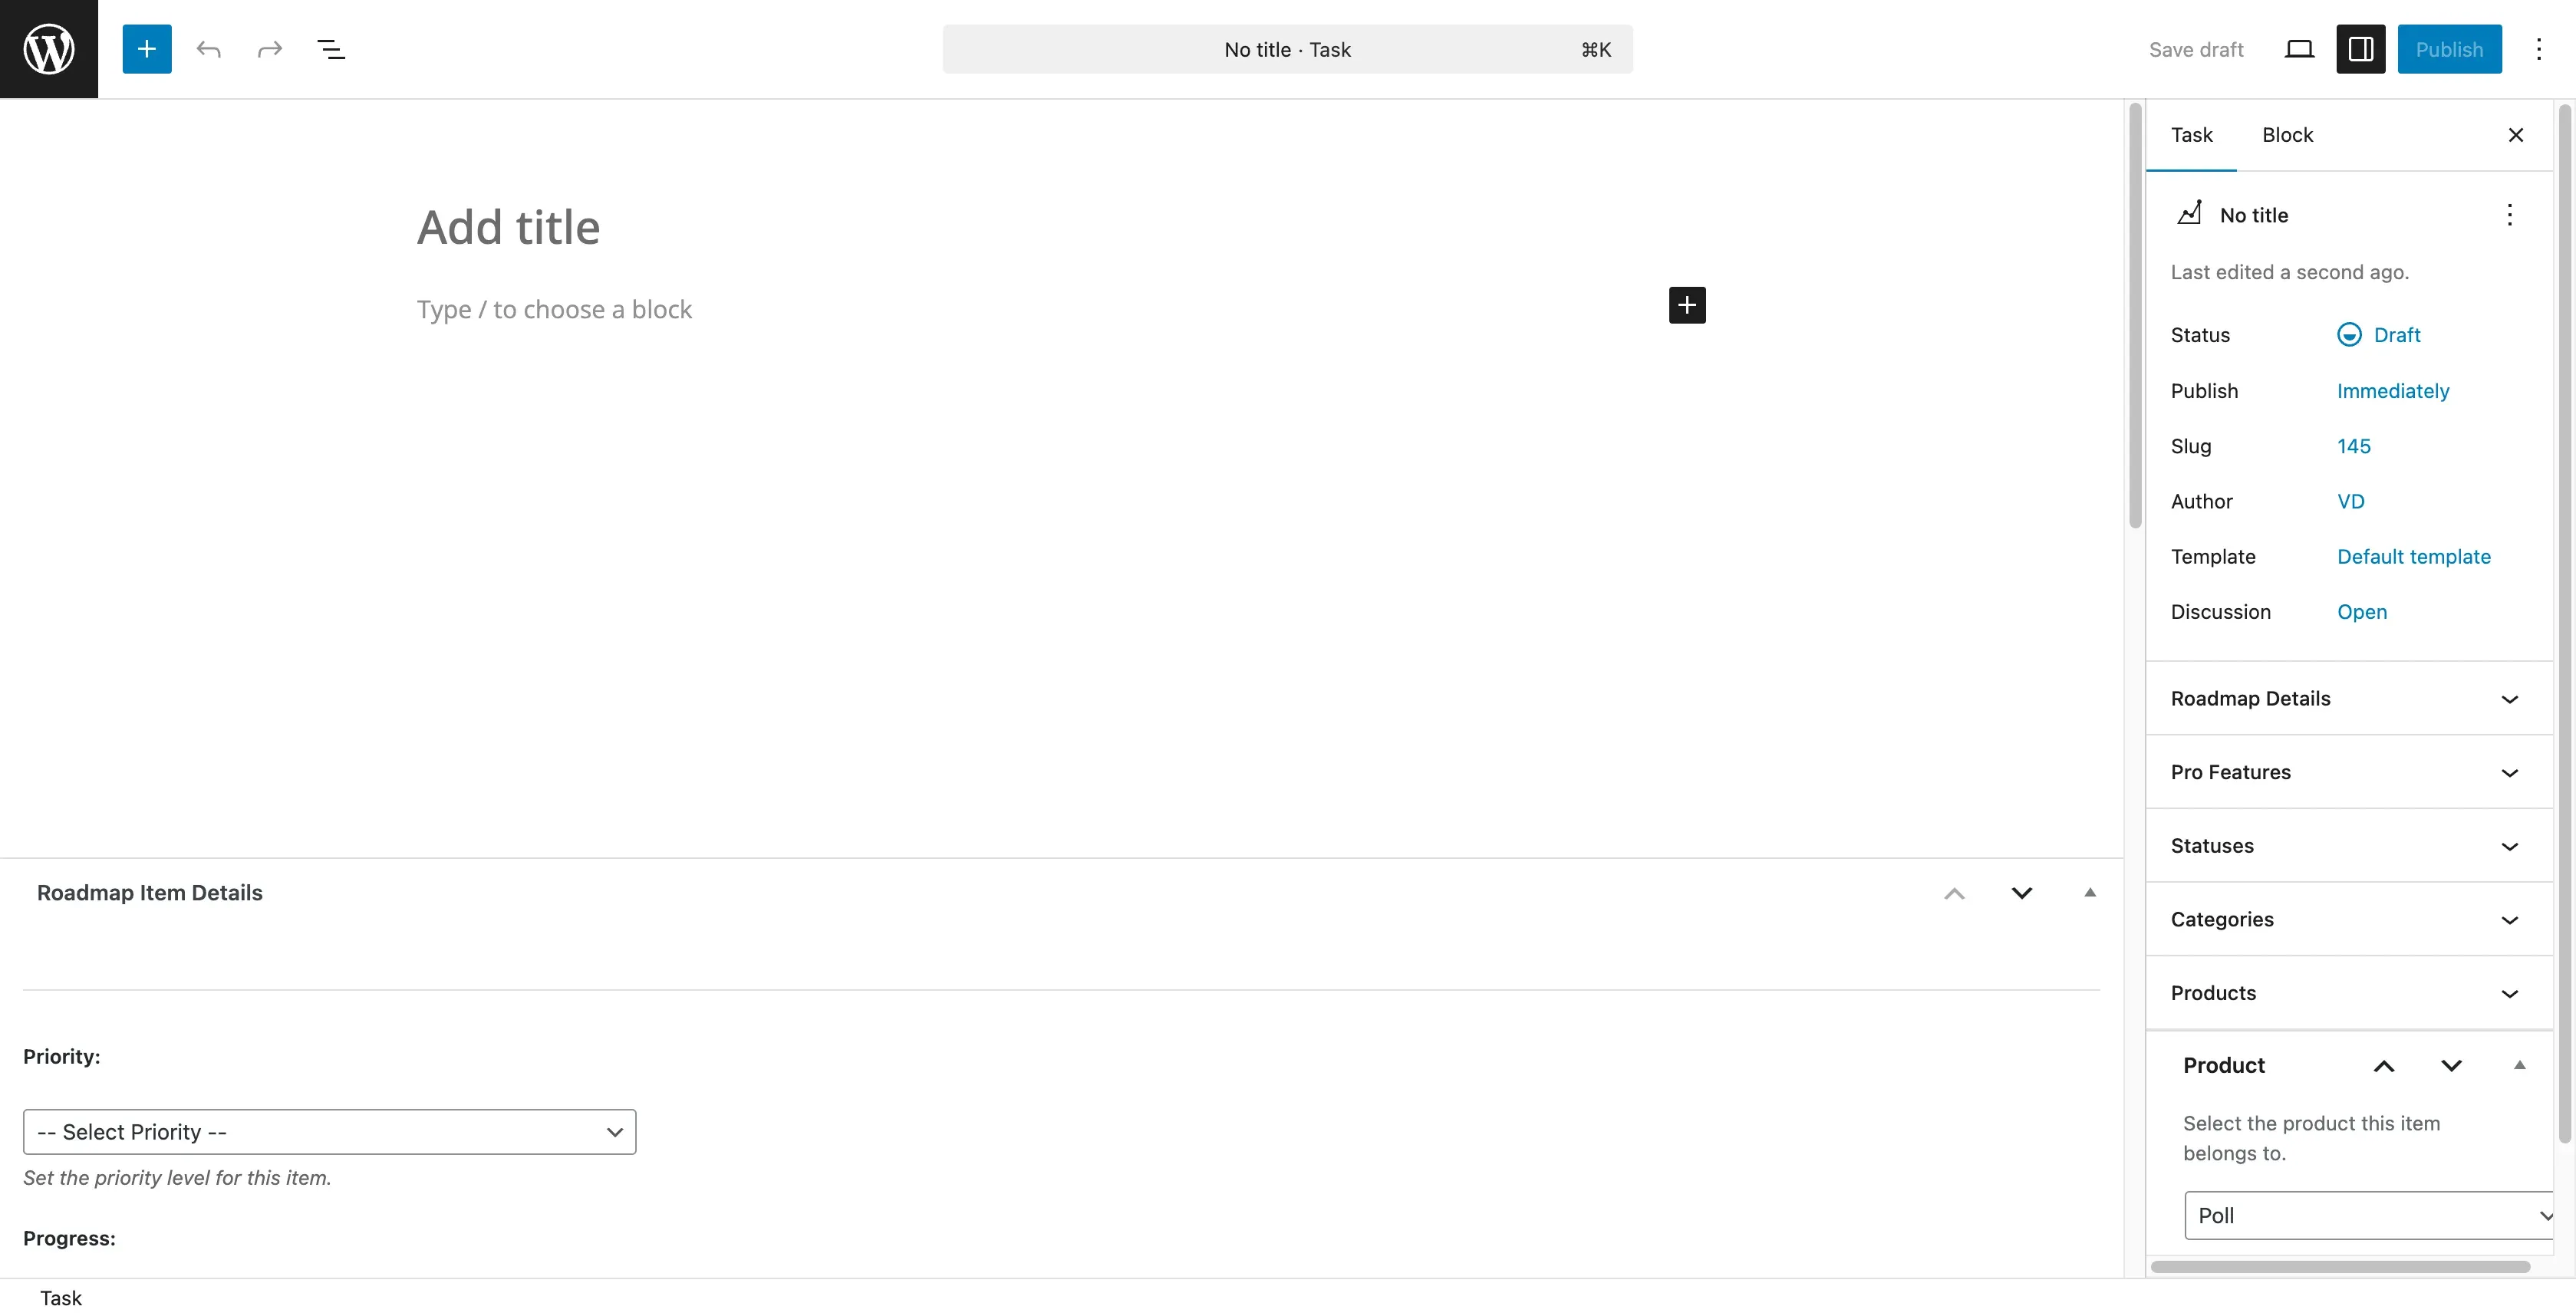
- Go to Roadmap > Add New.
- Enter a title (for example, “Dark Mode Support”).
- Add a description explaining the feature.
- In the sidebar, set a Status (default: Planned), and optionally a Category.
- In the Roadmap Item Details meta box, set a Priority and Progress percentage if you want them.
- Click Publish.
Display your roadmap
Section titled “Display your roadmap”- Create a new page (for example, “Our Roadmap”).
- Add the shortcode:
[roadmap] - Publish the page.
[roadmap] with no attributes shows your default product’s board using the Minimal layout, with every published item visible (a Load more button appears for large boards).
A few common variations:
[roadmap] Default display[roadmap status="planned"] Only items with the Planned status[roadmap sort="votes"] Most-voted items first[roadmap show_voting="hide"] Hide voting on this boardSee the full shortcode reference for every available attribute.
What’s next
Section titled “What’s next”| Goal | Guide |
|---|---|
| Add and organize items day to day | Managing Roadmap Items |
| Turn on voting, comments, and suggestions | Voting, Comments, and Suggestions |
| Publish release notes | Changelog |
| Configure notification emails | Notifications |
Troubleshooting first setup
Section titled “Troubleshooting first setup”Roadmap page is blank
- Make sure at least one item is published (not a draft).
- Check the shortcode syntax - it should read exactly
[roadmap]. - Clear any caching plugin’s cache.
Voting doesn’t respond
- Go to Roadmap > Settings and confirm Enable Voting is on.
- If you expect guests to vote, confirm Allow Guest Voting is also on.
Styles look broken
- Switch to a default WordPress theme temporarily to rule out a theme conflict.
- Check the browser console for JavaScript errors.