

Setup Wizard Walkthrough
The setup wizard opens automatically the first time you activate Product Roadmap. You can also reach it any time at Roadmap > Setup Wizard.
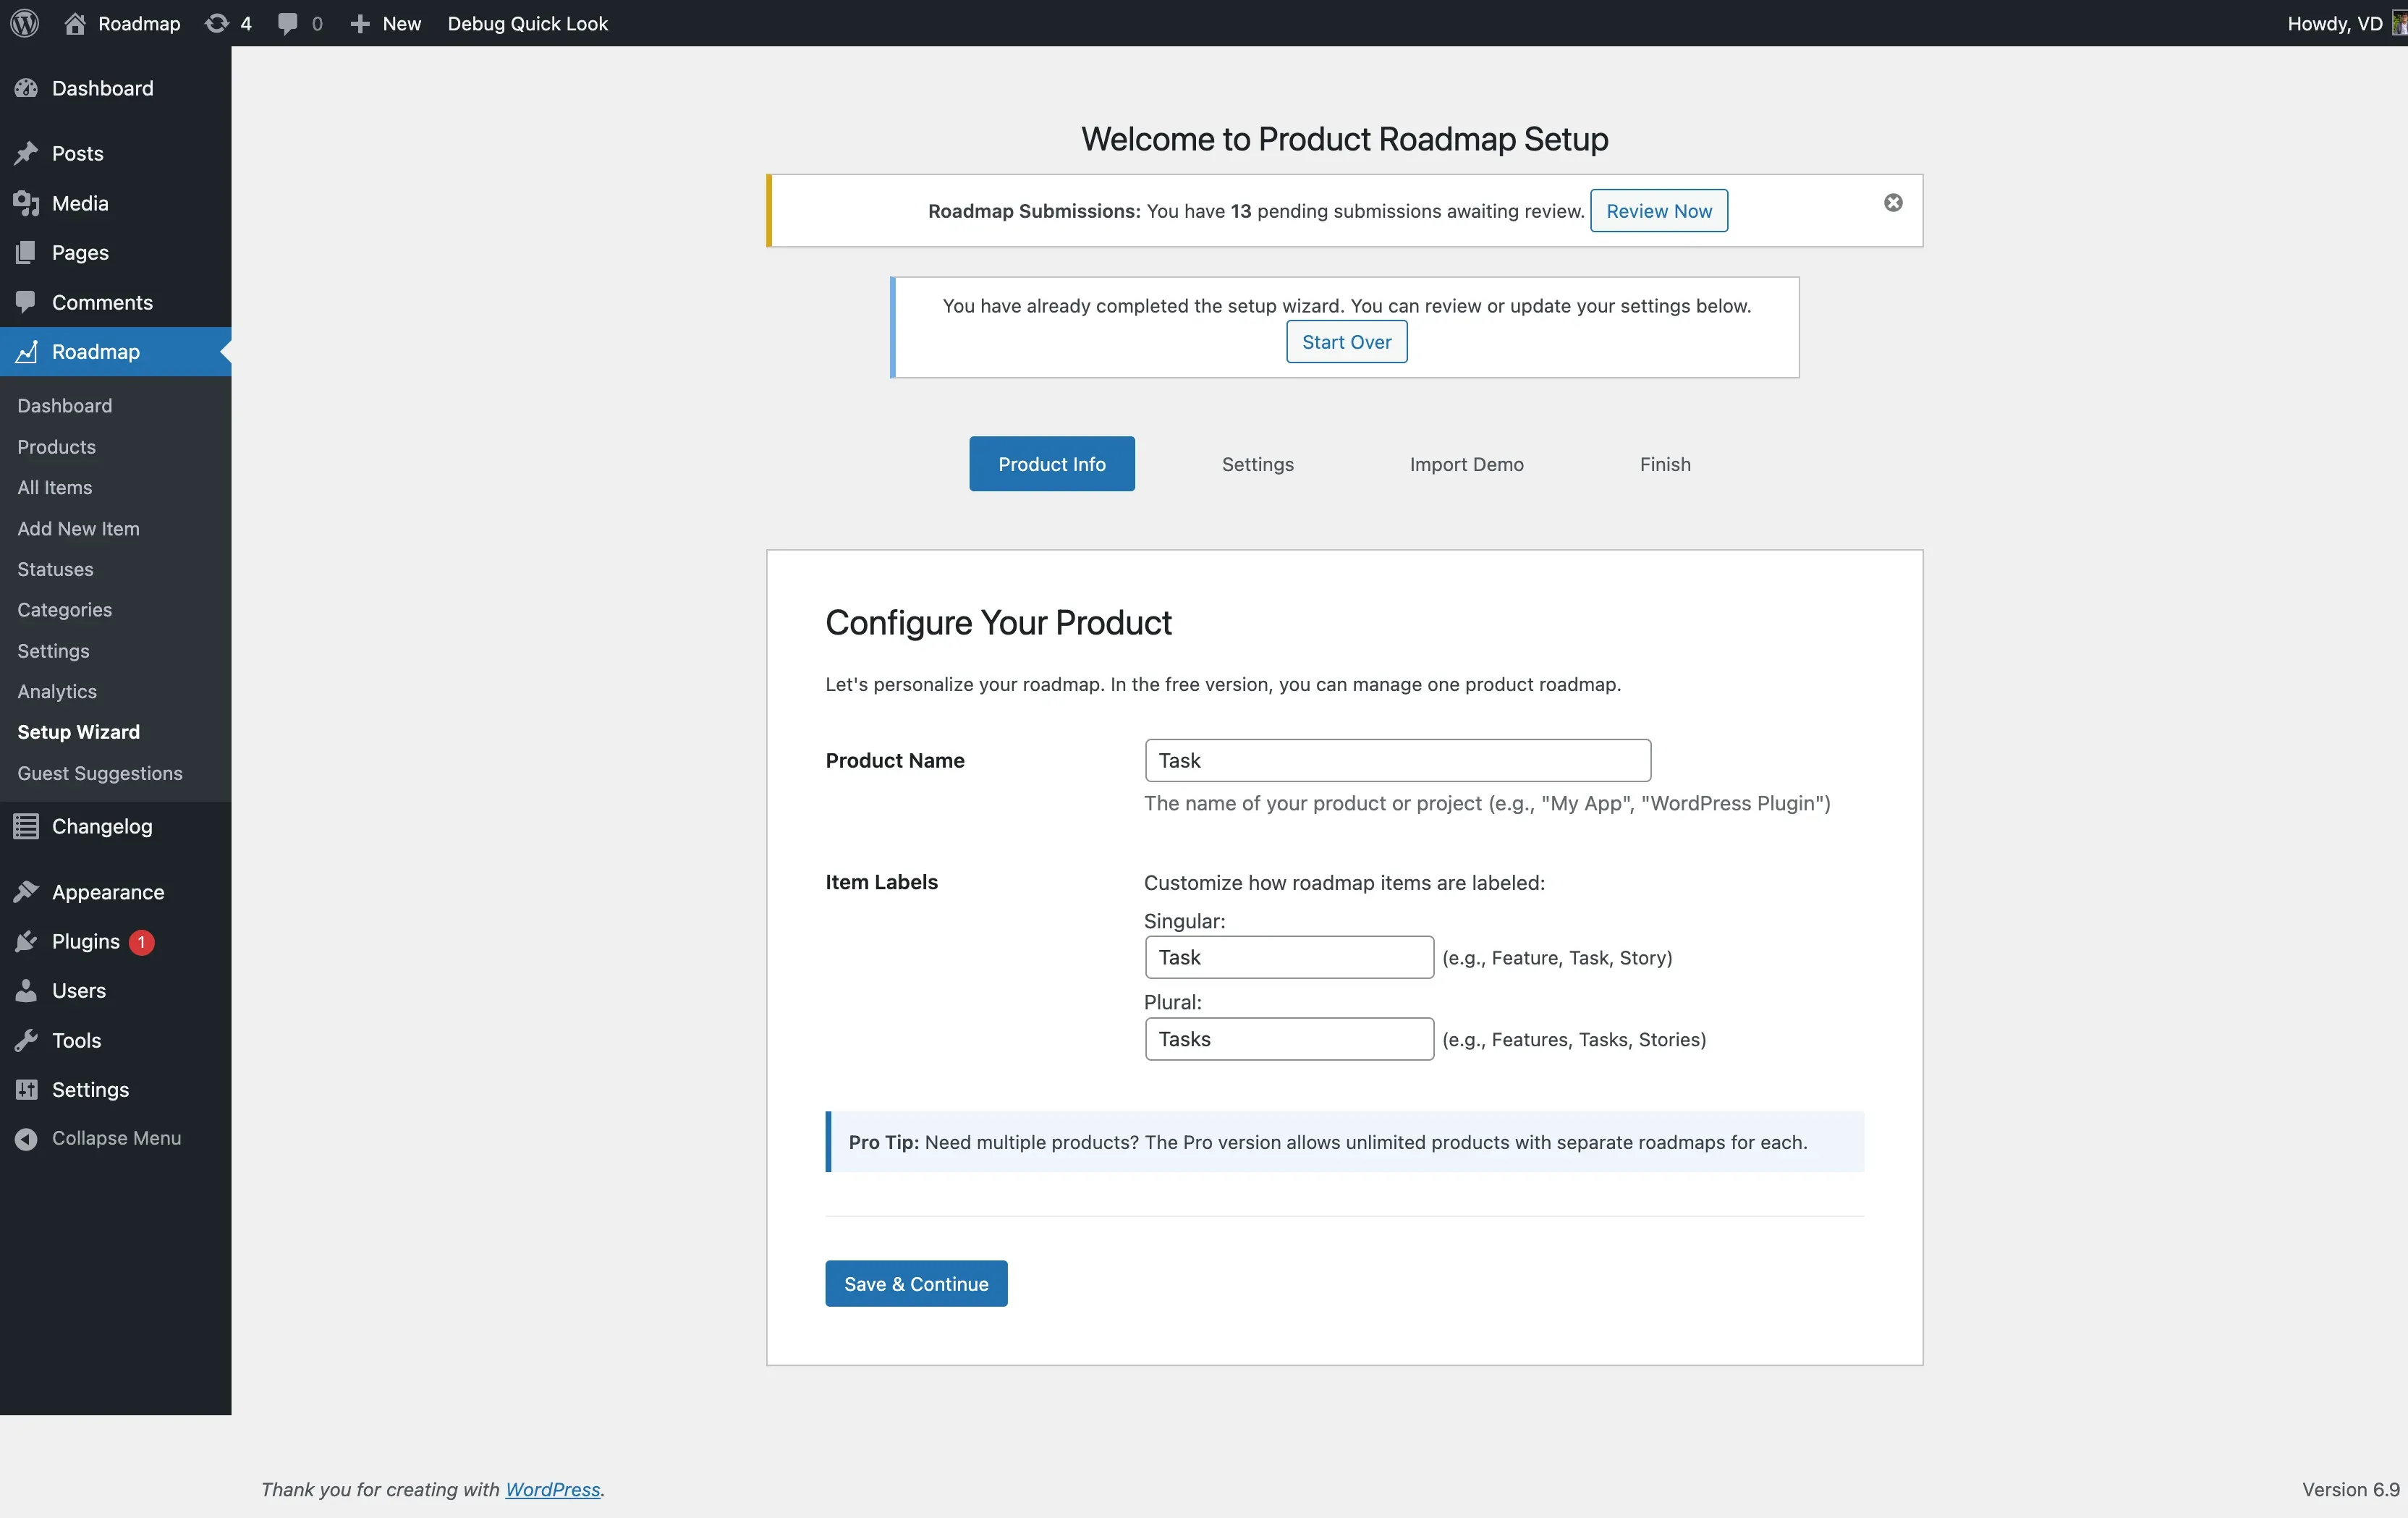
Step 1: Configure your product
Section titled “Step 1: Configure your product”- Product Name - the name of your product or project (for example, “My App”). It appears in menu titles and page headings.
- Item Labels - customize what roadmap items are called. Set a Singular label (for example, “Feature”, “Task”, “Story”) and a Plural label (for example, “Features”, “Tasks”, “Stories”). These labels appear throughout the admin interface.
The free version manages one product roadmap. Pro allows unlimited products, each with its own roadmap.
Step 2: Basic settings
Section titled “Step 2: Basic settings”- Enable Voting - let users vote on roadmap items.
- Guest Voting - allow non-logged-in users to vote, tracked by IP address.
- Enable Comments - let users comment on roadmap items.
These match the toggles on the Settings screen, so you can change any of them later without re-running the wizard.
Step 3: Import demo content (optional)
Section titled “Step 3: Import demo content (optional)”Demo content includes 10 sample roadmap items across different statuses, various priority levels and categories, and example votes and comments. It’s a quick way to see how a populated roadmap looks before you add real items.
- Leave the checkbox ticked and click Import & Continue to add the demo content.
- Click Skip to move on without it.
If a roadmap page already exists, the wizard reuses it instead of creating a duplicate. Otherwise, finishing the wizard creates a page titled “{Your Product} Roadmap” with the [roadmap] shortcode already added.
Step 4: Finish
Section titled “Step 4: Finish”The wizard saves your configuration and creates the roadmap page (if one didn’t already exist), then gives you quick links to view the page, edit it, or add your first real item.
Re-running the wizard
Section titled “Re-running the wizard”Go to Roadmap > Setup Wizard at any time. If you’ve already completed it, you’ll see a Start Over option. Starting over lets you reconfigure the settings above - it does not delete existing roadmap items or create a duplicate page.