

Install and activate Kanbanomy
This guide takes you from the plugin ZIP to a working site: install, run the setup wizard, and enter your licence key. It takes about five minutes.
Before you start
- WordPress 7.0 or newer and PHP 8.1 or newer.
- The plugin ZIP and your licence key. Both are in your account at wbcomdesigns.com.
1. Install and activate the plugin
Section titled “1. Install and activate the plugin”- In wp-admin, go to Plugins > Add Plugin > Upload Plugin.
- Choose the ZIP and click Install Now.
- Click Activate Plugin.
There is nothing to build or compile. The download runs as it is.
2. Walk through the setup wizard
Section titled “2. Walk through the setup wizard”The first time you activate Kanbanomy, it opens a full-screen setup wizard. It has four screens. You can leave at any point with Skip setup and go to the dashboard on the first screen.
Screen 1: Welcome. A short summary of what Kanbanomy does. Click Let’s Go.
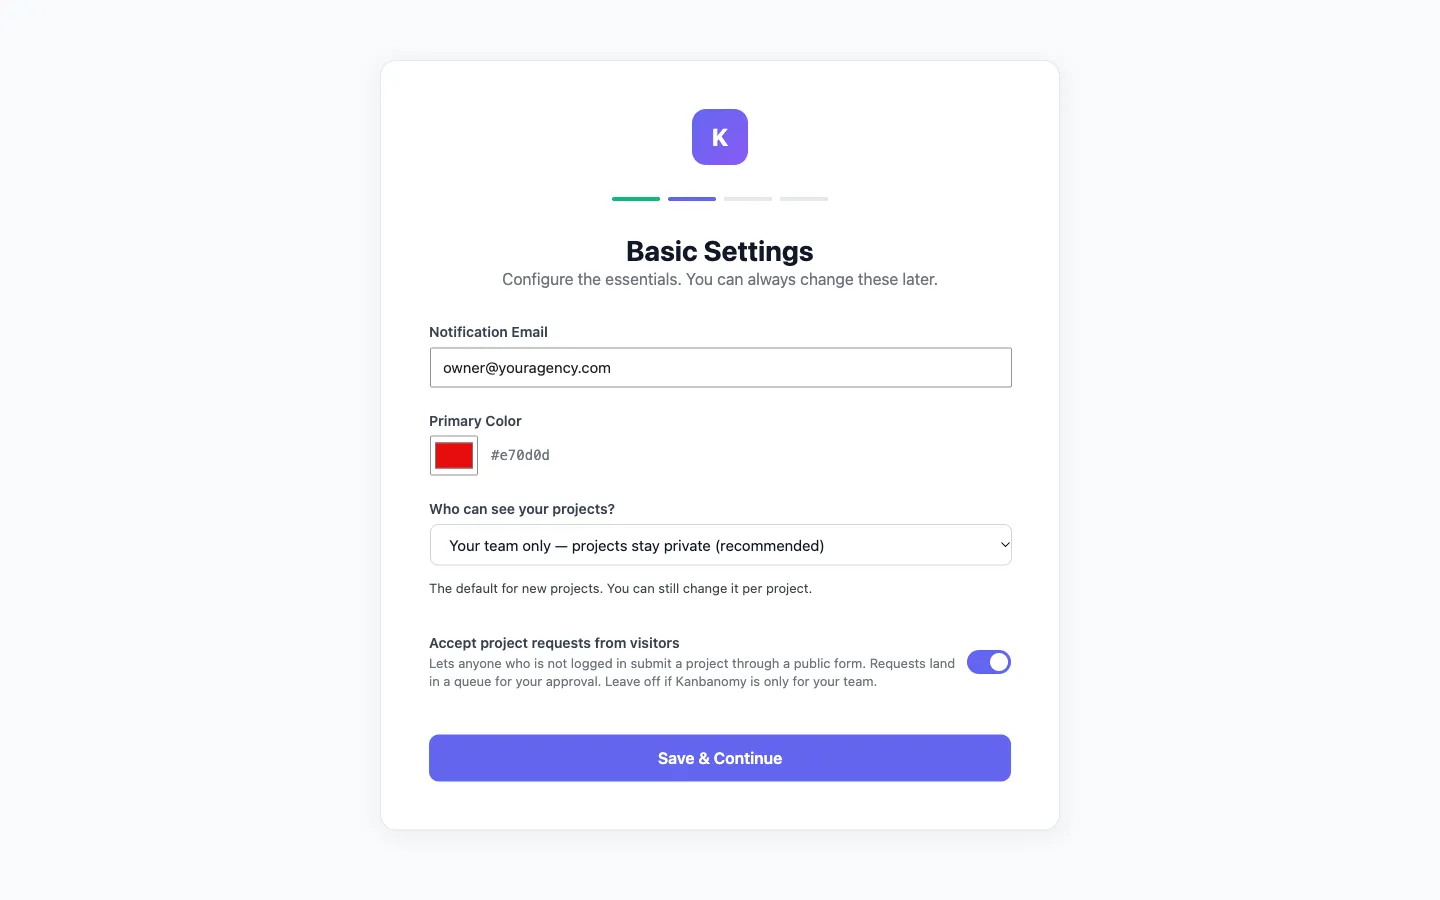
Screen 2: Basic Settings. Four choices, all of which you can change later under Kanbanomy > Settings.
- Notification Email - the address Kanbanomy uses for notifications on the owner’s side.
- Primary Color - the accent colour used across Kanbanomy screens.
- Who can see your projects? - the default for new projects. The recommended choice, “Your team only”, keeps projects private to the people you add. You can still change it on each project.
- Accept project requests from visitors - when on, anyone who is not logged in can send you a project request through a public form. Requests wait in a queue for your approval. Leave it off if Kanbanomy is only for your team.
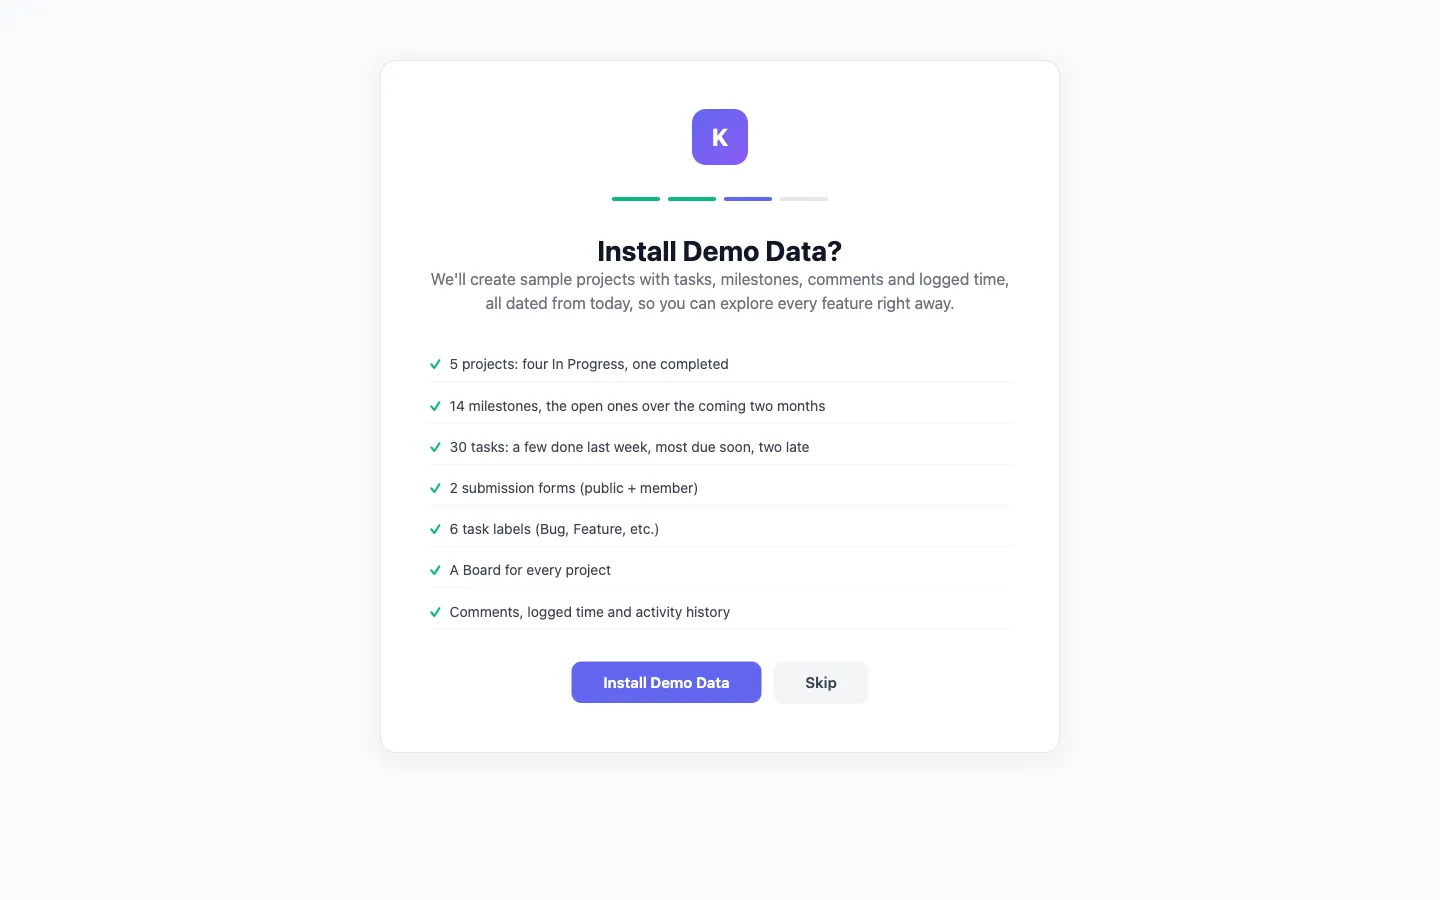
Screen 3: Install Demo Data? Demo data gives you five sample projects with milestones, tasks, comments and logged time, two forms, six labels and a Board, all dated from the day you install it, so you can look around before adding real work. Click Skip if you would rather start empty. Skipping creates nothing.
If you install the demo data, it is private to your team and you can remove it later from Kanbanomy > Settings > General.
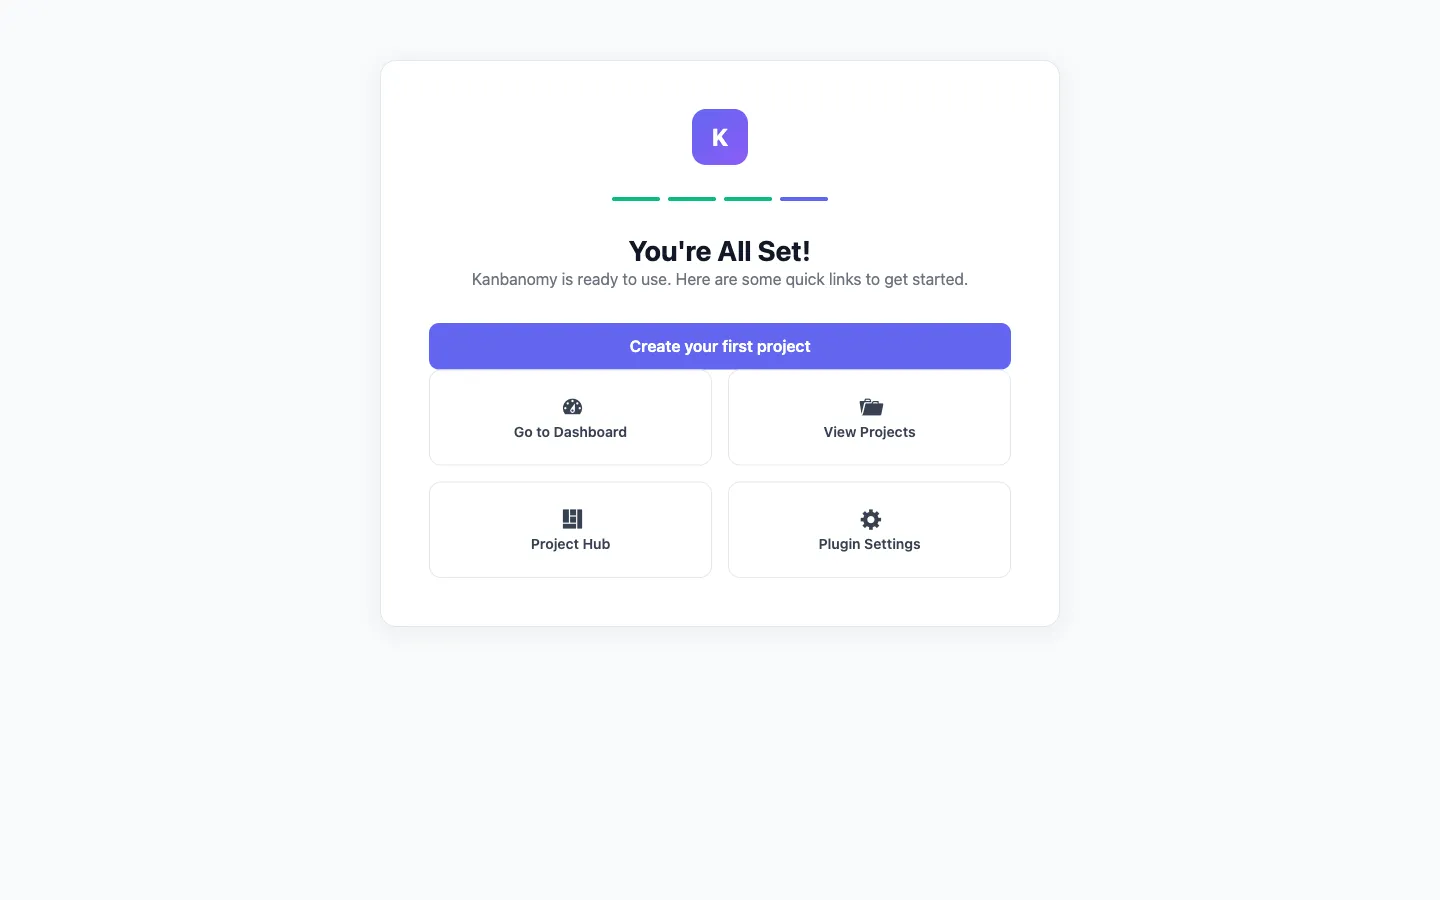
Screen 4: You’re all set Links to your first project, the dashboard, the project list, the Hub and the settings. It also shows your Hub address with a Copy button. Share it with your team, or add it to your site menu under Appearance > Menus. Kanbanomy never changes your menus itself.
The wizard runs once. After you finish it, its address sends you to the Kanbanomy dashboard.
The Hub address and its Copy button stay on the Kanbanomy dashboard, in the On your site bar, so you can copy it again at any time.
To add the pages to your site menu, use Appearance > Menus. They are at
/hub/,/projects/and/calendar/on your site.
3. Enter your licence key
Section titled “3. Enter your licence key”Your licence key turns on automatic updates and priority support. Until you enter it, the dashboard shows a notice with an Activate your license link.
- Go to Kanbanomy > Settings and open the License tab.
- Click Enter license key.
- Paste your key into the box and click Activate.
When the key is accepted, the status line on the License tab changes from “Not activated” to “Active”, with your expiry date or a note that the licence is lifetime.
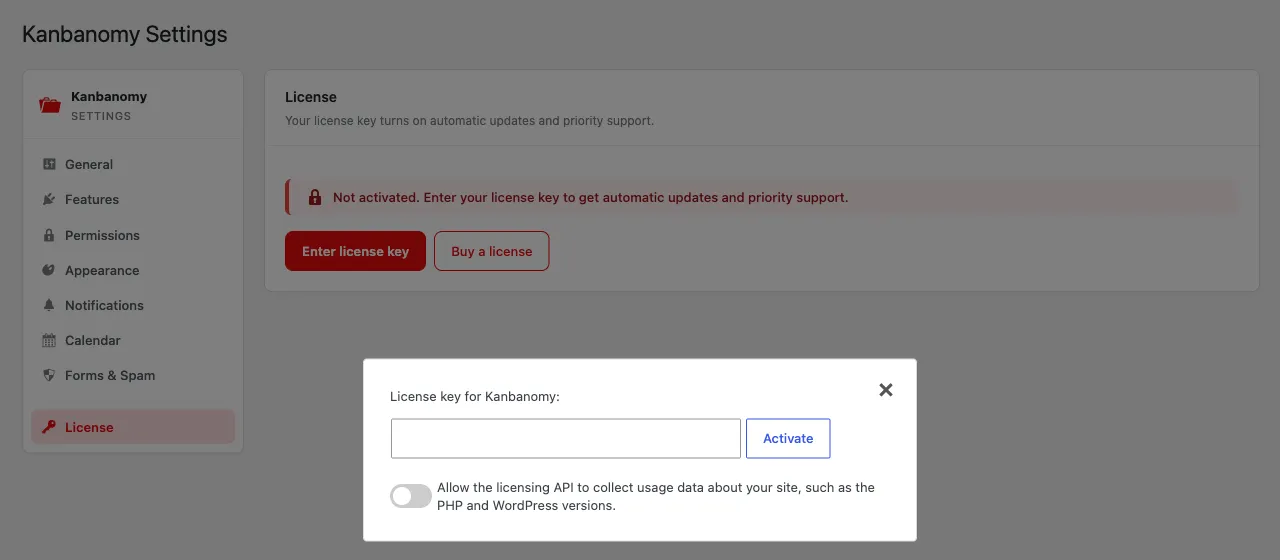
The small switch under the key box asks whether the licensing service may collect usage details about your site, such as the PHP and WordPress versions. It is off by default. Leave it off unless you want to share that.
Common problems
Section titled “Common problems”- The wizard did not open. It only opens right after the first activation. If you closed it or skipped it, go to Kanbanomy > Dashboard. Everything the wizard sets is in Kanbanomy > Settings.
- The licence status stays “Not active on this site”. Check the key for stray spaces and that the licence is still valid in your account, then try Enter license key again. If it still fails, contact support with the status line you see.
- Members cannot find Kanbanomy on the site. Add the Hub, Projects and Calendar pages to your menu (see above).