

Setup Wizard
Learnomy overviewFree + ProGet Learnomy →
The setup wizard runs automatically after you first activate Learnomy. It walks you through four steps in about five minutes and leaves you with a working academy.
Overview
Section titled “Overview”The wizard is a standalone full-screen page – it does not render the WordPress admin chrome. It saves settings through the REST API as you move between steps, so nothing is lost if you navigate away and come back. You can skip the wizard entirely on Step 1 and run it again later from LMS Settings > Settings > General > Open setup wizard.
Step 1: Welcome
Section titled “Step 1: Welcome”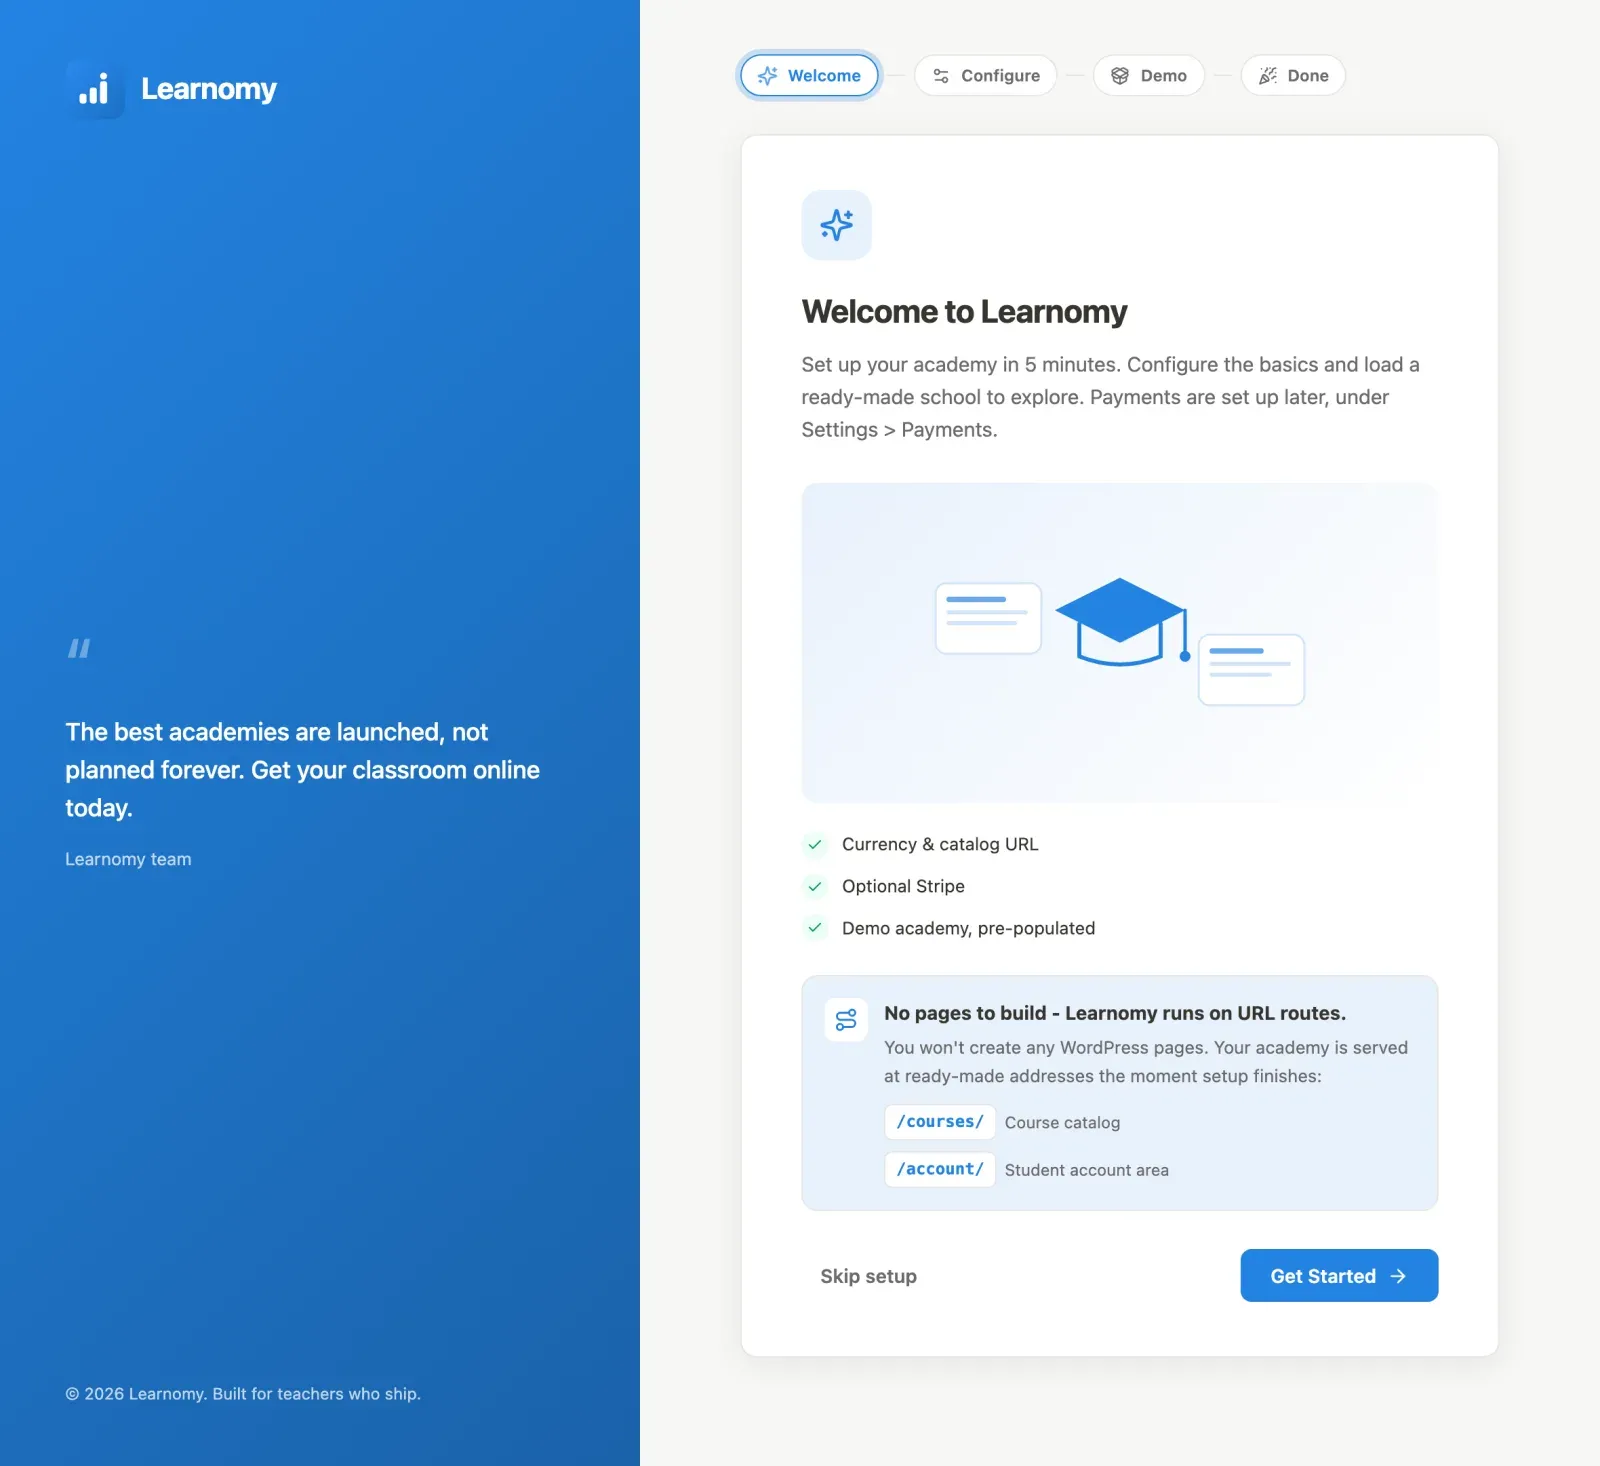
The first step shows what the wizard covers: currency and catalog URL, the kind of academy you run, and an optional demo academy. Click Let’s begin to start, or click Skip setup to go directly to the admin dashboard. Skipping marks setup as done and changes nothing else: your currency, catalog URL, enrollment mode and modules stay exactly as they are. Payments are set up later in LMS Settings > Payments, when you first put a price on something.
Step 2: Configure
Section titled “Step 2: Configure”This step sets two academy-wide defaults, then lets you pick a starting preset.
-
Course catalog slug – the URL path where your course catalog will live. The default is
courses, giving a URL likehttps://yoursite.com/courses/. Type a different slug if you want a different URL. Only lowercase letters, numbers, and hyphens are accepted.The live preview below the field updates as you type so you can see the full URL before committing.
-
Currency – the billing currency for paid courses and memberships. Every currency offered in LMS Settings > Settings > General is available here, and the one you pick is the one saved. You can change it later in the same place.
-
What kind of academy? – pick the preset that best matches your use case. Learnomy enables only the relevant modules so the admin sidebar stays focused. You can adjust individual modules later on the Modules page. When you re-run the wizard, the tile your site already uses is selected, and your modules are only changed if you pick a different tile.
Preset What gets enabled Simple courses Courses, lessons, and search. No quizzes or payments. Courses + quizzes Quizzes, certificates, reviews, notifications, search, SEO. Free academy. Selected by default. Train my own team Staff and internal training with nothing put up for sale. Includes quizzes, certificates, and notifications. Paid courses Everything in Courses + quizzes, plus payments, coupons, and revenue split for instructors. Membership site Recurring subscription access. Includes payments, membership plans, and coupons. School or team seats Sell seat bundles to schools and teams. Same free modules as Courses + quizzes; the seat selling itself is powered by Spaces in Learnomy Pro. Custom Opens with the default module set. You configure everything from the Modules page. Click Continue to move to Step 3.
Step 3: Demo academy (optional)
Section titled “Step 3: Demo academy (optional)”This step seeds your site with ready-made content so the dashboard has real numbers on day one rather than showing empty states everywhere.
If you choose Load demo academy (recommended), Learnomy creates:
- 2 sample courses (React Fundamentals at $49 and Mindful Productivity as a Membership course)
- Sample sections, lessons, and quiz questions in each course
- 5 demo students enrolled in the courses
- Sample transactions recorded against those enrollments
- 1 issued completion certificate
- 1 active membership plan
The seeding takes about five seconds. Progress items tick off as each piece is created.
If you choose Start empty, the wizard completes with no demo content.
If demo content is still on the site, the choice tiles are replaced by a notice: “Demo content already loaded. Use Settings > Reset demo data to refresh.” You can click the Reset demo data button at the bottom of the success screen (Step 4) to replace the current demo with a fresh set. Once the demo courses and demo users are gone (removed with Remove demo content, or deleted by hand), the wizard offers the demo academy again.
Click Finish setup to complete the wizard.
Step 4: Success
Section titled “Step 4: Success”The wizard lands on the success screen showing four stats: Courses, Students, Revenue, and Certificates. If you loaded demo data these reflect actual counts from the seeded content. If you started empty they all read 0.
From here you can:
- Click Open Dashboard to go straight to the Learnomy admin dashboard.
- Click View course catalog to open your front-end catalog in a new tab.
- Click the Reset demo data text link at the bottom to replace demo content with a fresh set.
The dashboard picks up where the wizard leaves off with a Getting Started checklist. If you loaded the demo academy, expect Create your first Course to still be pending there - demo courses deliberately do not complete it. See Onboarding checklist.
Resetting demo data
Section titled “Resetting demo data”The Reset demo data button is available on Step 4 of the wizard and in LMS Settings > Settings > General. Clicking it deletes the existing demo courses, students, and transactions and creates a fresh set in one operation. A confirmation prompt appears before anything is deleted.
This is useful when you want to show a client or team member a clean demo state, or after experimenting with the demo content.
- All wizard settings can be changed after the fact in LMS Settings > Settings.
- The preset you pick in Step 2 is a starting point. You can add or remove individual modules at any time from LMS Settings > Modules without re-running the wizard.
- The wizard can be re-run any time by visiting LMS Settings > Settings > General and clicking Open setup wizard, or by navigating directly to
wp-admin/admin.php?page=learnomy-setup. - Re-running the wizard opens with your current settings and academy kind selected. It does not lift the “Demo content already loaded” lock: that lock lasts only while demo content is on the site.