

Quick Start Guide
Get your wiki up and running in under five minutes. This guide walks you through creating your first wiki page and exploring core features.
Before You Begin
Section titled “Before You Begin”Make sure you have:
- Activated the WB Member Wiki plugin
- Created a wiki dashboard page (see Installation & Setup)
- Configured at least one user role with wiki create permissions
Creating Your First Wiki Page
Section titled “Creating Your First Wiki Page”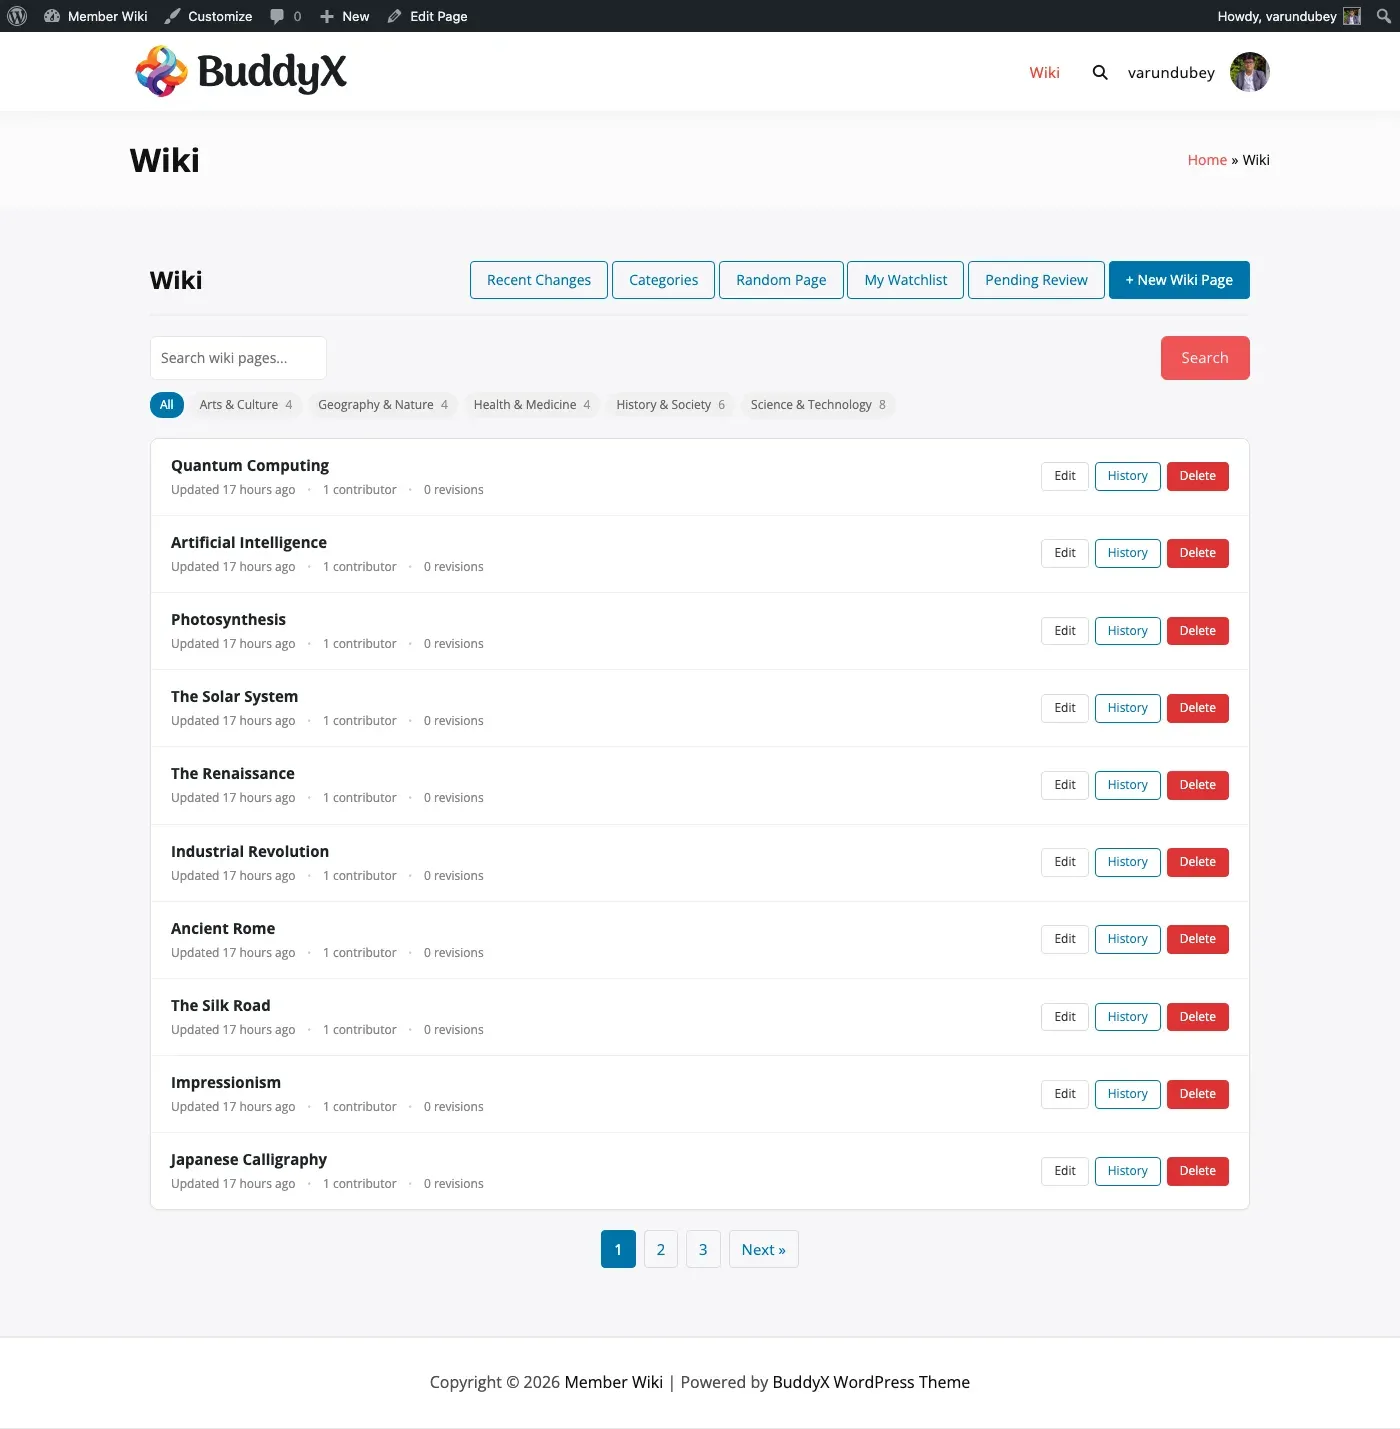
- Visit your wiki dashboard page on the frontend
- Click Create New Page
- Fill in the page details:
- Title: Give your page a descriptive title (e.g., “Getting Started with Our Community”)
- Content: Write your wiki content using the visual editor. Use headings (H2, H3) to structure your content
- Category: Select or create a category to organize your page
- Tags: Add relevant tags for discoverability
- Parent Page: Optionally nest this page under an existing page for hierarchical structure
- Click Publish to make the page live
Adding Wiki Links
Section titled “Adding Wiki Links”Link between wiki pages using double-bracket syntax in your content:
Learn more about [[Community Guidelines]] for posting rules.This creates a link to the “Community Guidelines” wiki page. If the target page doesn’t exist yet, the link appears styled differently so you can click it to create the page.
You can also use custom display text:
Check our [[Community Guidelines|posting rules]] before contributing.Exploring the Dashboard
Section titled “Exploring the Dashboard”The wiki dashboard provides several views accessible via URL parameters:
| View | What It Shows |
|---|---|
| List | All published wiki pages with categories and search |
| Create | New page editor form |
| Edit | Edit an existing page |
| History | Revision history for a page |
| Search | Search results across all wiki pages |
| Contributions | Pages contributed by a specific user |
Key Features at a Glance
Section titled “Key Features at a Glance”Table of Contents
Section titled “Table of Contents”Pages with three or more headings automatically display a Table of Contents at the top. Users can show/hide it.
Revision History
Section titled “Revision History”Every edit creates a revision. Authors can add edit summaries to explain their changes. Administrators can compare and restore previous versions.
Edit Locking
Section titled “Edit Locking”When a user starts editing a page, a soft lock prevents others from making conflicting edits. The lock refreshes automatically via heartbeat and expires after the configured duration.
Page Protection
Section titled “Page Protection”Administrators and users with the protect role can lock pages so only admins can edit them. This is useful for important reference pages that shouldn’t be modified by regular contributors.
Community Platform Integration
Section titled “Community Platform Integration”If you’re running BuddyPress, BuddyBoss, or PeepSo, the plugin automatically adds a Wiki tab to member profiles showing their contributions. No additional configuration needed.
Next Steps
Section titled “Next Steps”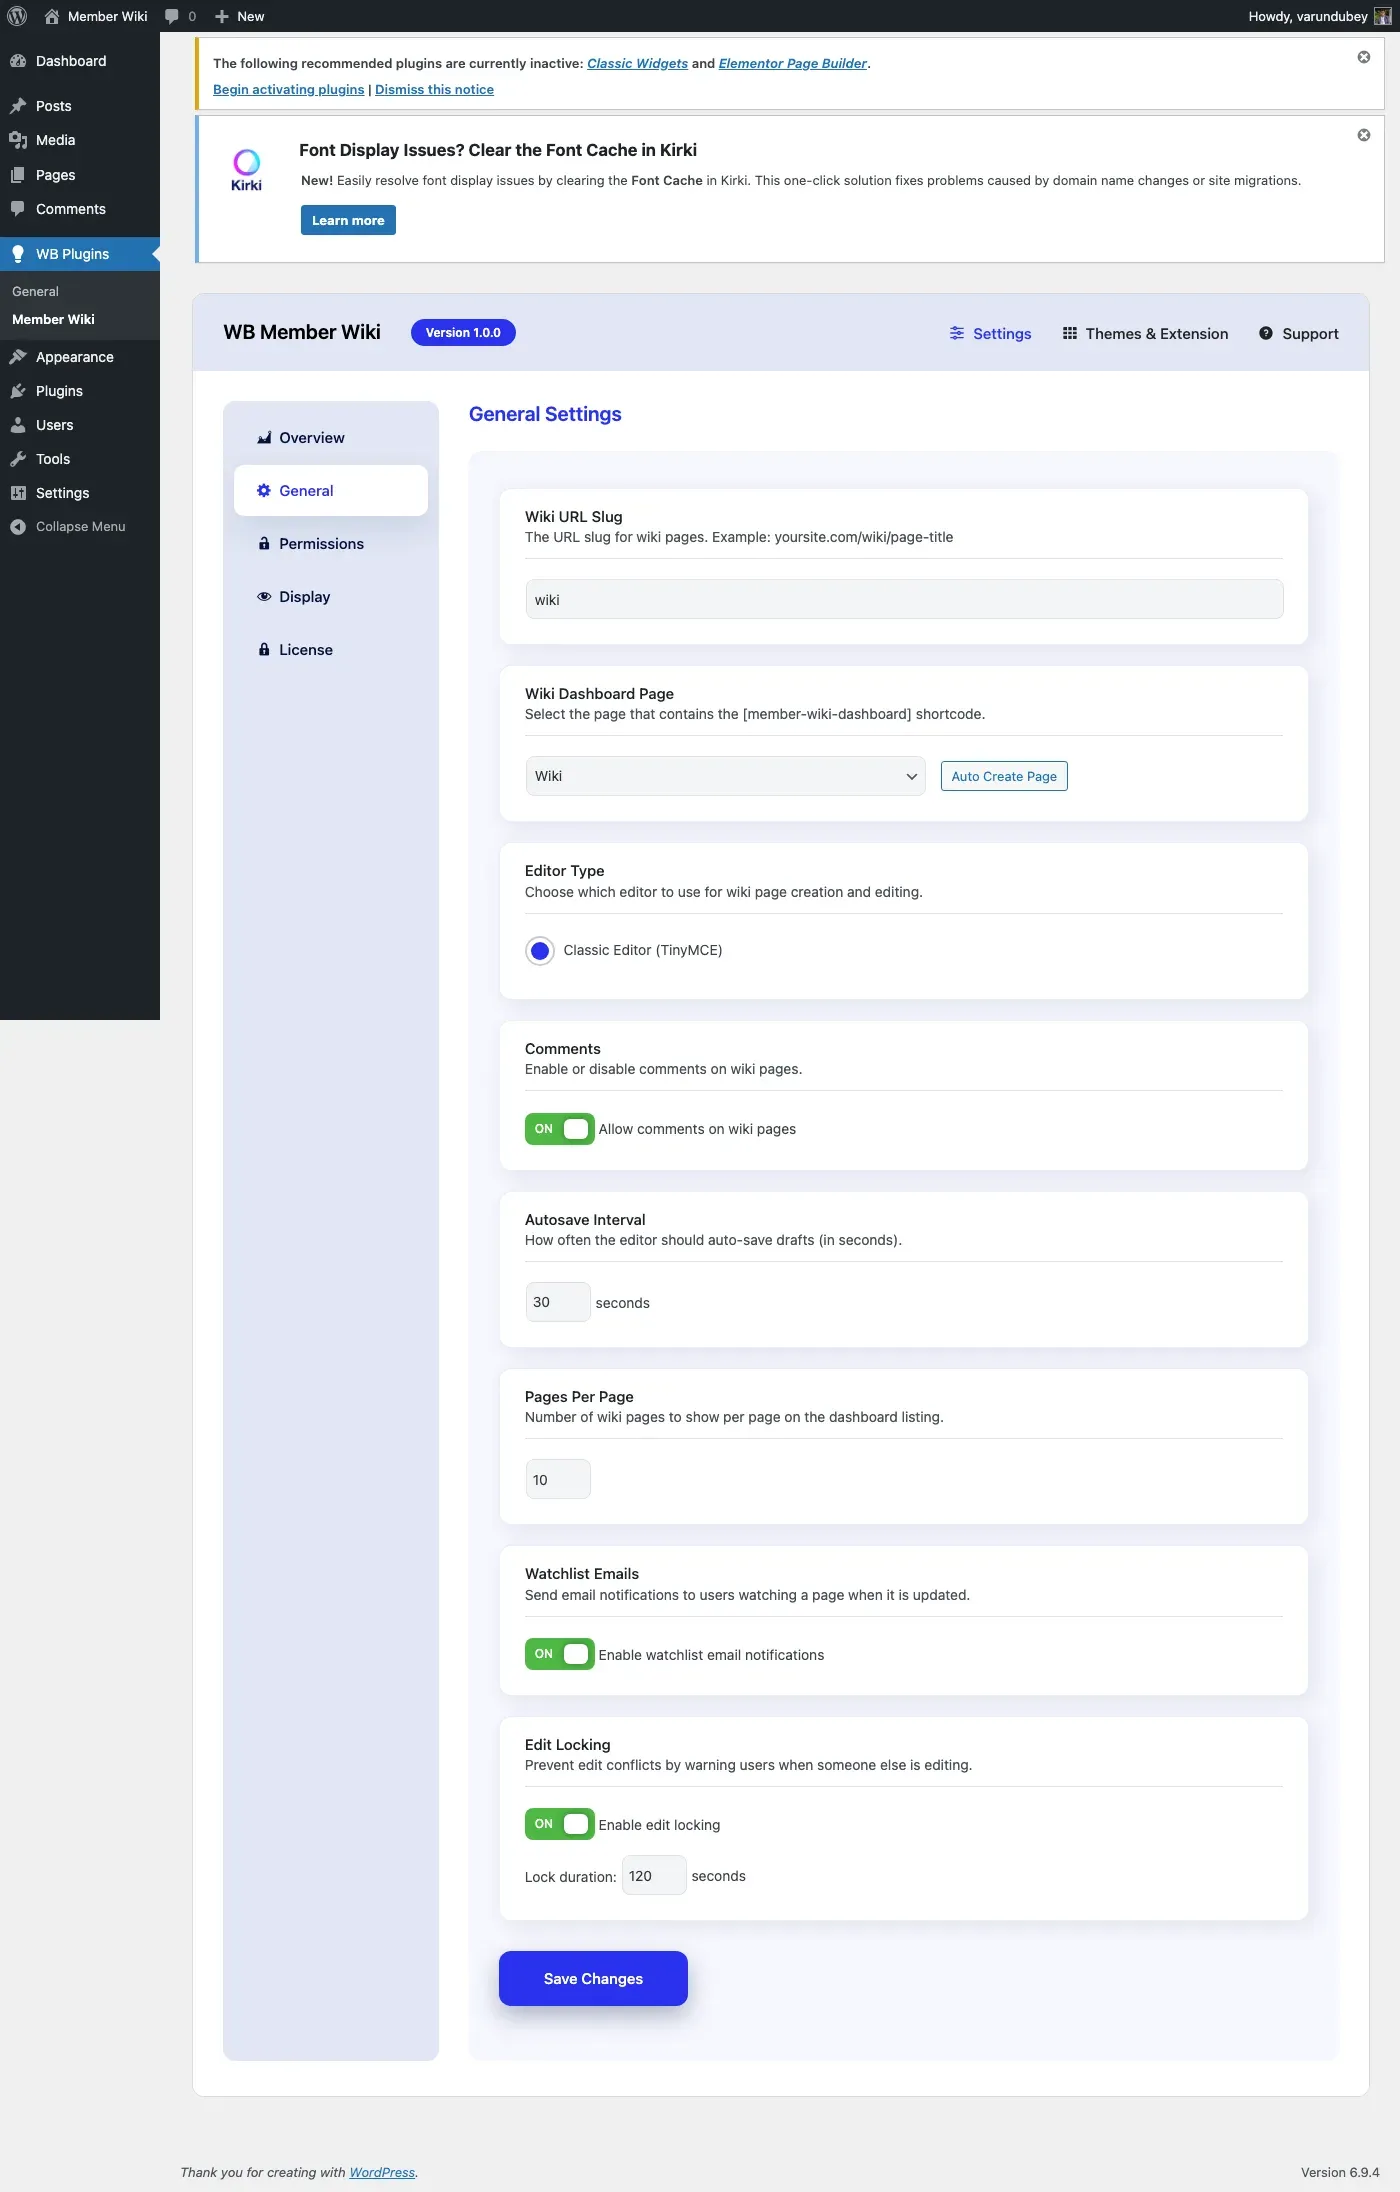
- Configure General Settings to customize the wiki URL slug and editor behavior
- Set up Permissions to control which roles can create, edit, delete, and protect pages
- Adjust Display Options to toggle the Table of Contents, contributor lists, and revision counts