

Creating and Managing Ads
This is the full ad edit workflow. Ads live under WB Ad Manager -> Ads and behave like a custom post type - each ad is one post with its own metaboxes.
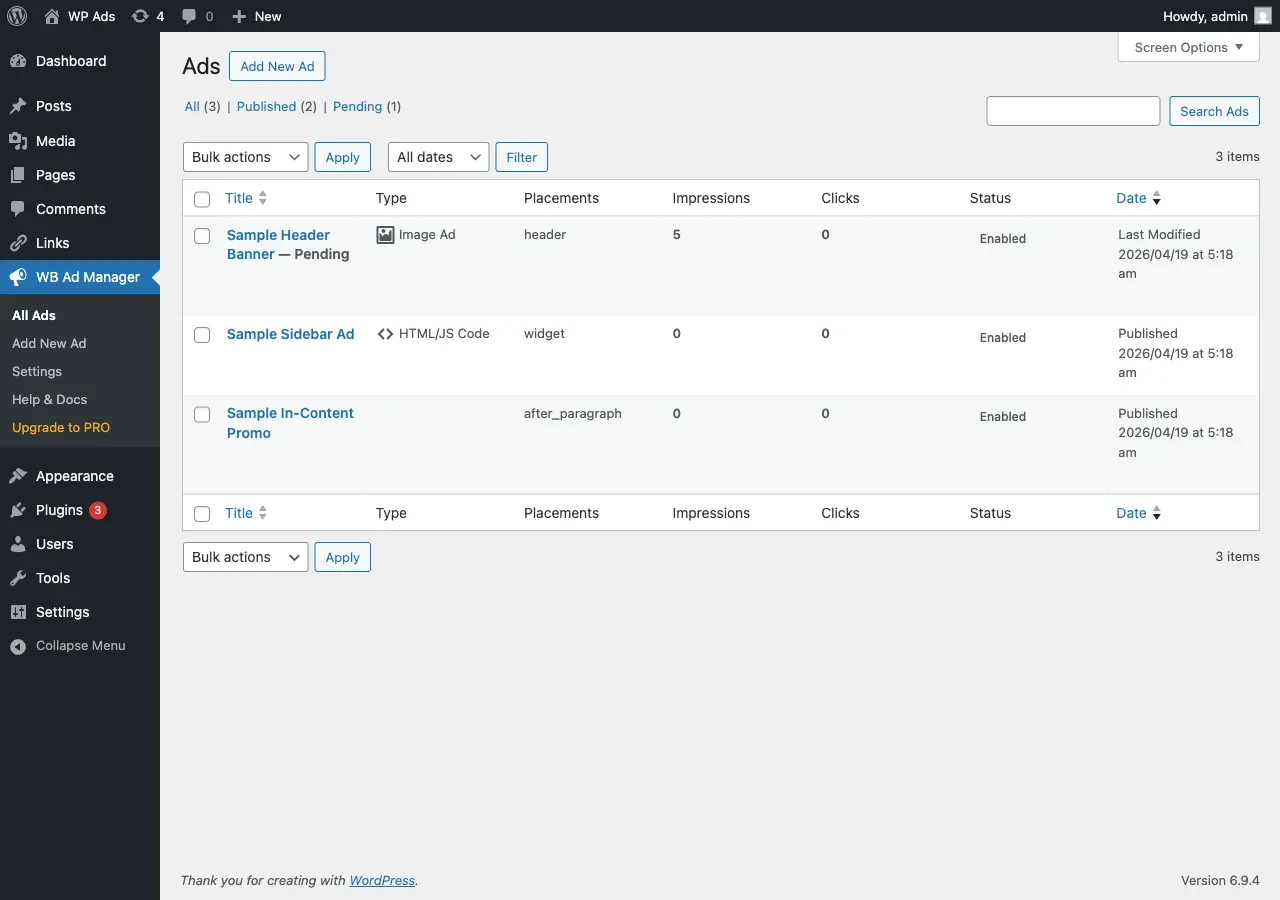
The ad edit screen
Section titled “The ad edit screen”When you add or edit an ad you get these metaboxes:
| Metabox | What it holds |
|---|---|
| Ad Settings | The ad type and its creative fields |
| Preview | A live preview (appears after the first save) |
| Placements | Checkboxes for every location the ad may appear |
| Ad Status (sidebar) | Enabled toggle, Priority (1-10), session limit, impression cap |
| Display Rules | Which pages the ad may show on |
| Visitor Conditions | Device, login status, and role targeting |
| Schedule | Start/end dates, days of week, time of day |
| Geo Targeting | Country include/exclude |
| Ad Performance Comparison | Side-by-side stats for ads sharing the same placements |
Create an ad
Section titled “Create an ad”- WB Ad Manager -> Ads -> Add New.
- Enter a Title (internal reference).
- Choose an ad type and fill in its content - see Ad Types.
- Check placements.
- Set Priority and any caps in Ad Status.
- Add targeting and scheduling if you need it.
- Publish.
Enable, disable, and schedule
Section titled “Enable, disable, and schedule”- Enabled toggle (Ad Status metabox) turns an ad on or off without deleting it. A disabled ad never serves, even if published.
- Schedule dates make an ad go live and expire automatically.
- Trashing or deleting an ad removes it from rotation and refreshes the placement counts.
Organize ads with Ad Tags
Section titled “Organize ads with Ad Tags”Ads support a flat Ad Tags taxonomy (WB Ad Manager -> Ad Tags). Tag ads by sponsor, season, or campaign so you can find, pause, or hand off a sponsor’s whole set at once. Tags are admin-only and have no public archive.
Track performance
Section titled “Track performance”The Ads list shows impressions and clicks per ad. For deeper numbers, open an ad and read the Ad Performance Comparison metabox, or use the Analytics REST endpoints.