

Installing WB Ad Manager
WB Ad Manager is the free ad-management plugin from Wbcom Designs. This guide takes you from zero to an active install you can verify.
Requirements
Section titled “Requirements”| Requirement | Minimum |
|---|---|
| WordPress | 5.8 or higher |
| PHP | 7.4 or higher |
| User role | Administrator (manage_options) |
Install from the WordPress dashboard
Section titled “Install from the WordPress dashboard”- Go to Plugins -> Add New.
- Search for WB Ad Manager.
- Click Install Now, then Activate.
Install by uploading a ZIP
Section titled “Install by uploading a ZIP”If you downloaded the plugin ZIP from wbcomdesigns.com:
- Go to Plugins -> Add New -> Upload Plugin.
- Choose the ZIP file.
- Click Install Now, then Activate.
What happens on activation
Section titled “What happens on activation”On first activation the plugin:
- Creates the Ads post type and its admin menu (icon: megaphone).
- Creates its database tables for click/impression tracking, links, and captured emails.
- Redirects you to the Setup Wizard so you can seed sample ads (see Setup Wizard).
After activation
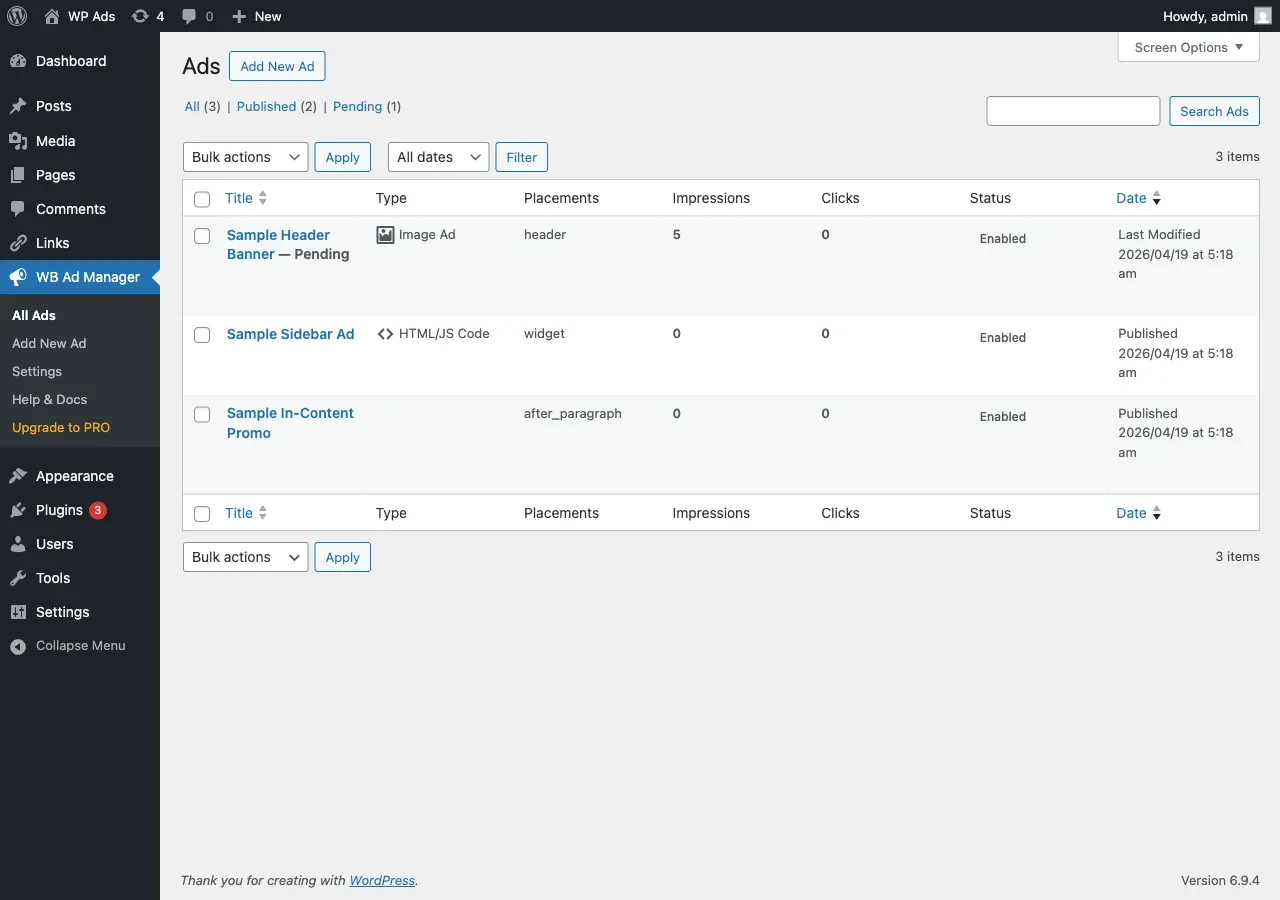
Section titled “After activation”You will see a WB Ad Manager menu in the admin sidebar with:
- Ads - create and manage advertisements
- Ad Tags - group ads by sponsor, season, or campaign
- Settings - global ad behaviour
- Links - tracked and cloaked outbound links (when the Links module is on)
- Help & Docs and Upgrade to PRO
Verify the install
Section titled “Verify the install”- Publish one ad (see Quick Setup).
- Add
[wbam_ad id="123"]to any page, replacing123with the real ad ID. - View the page on the front end - the ad should render.
Next steps
Section titled “Next steps”- Quick Setup - publish your first ad in a few minutes.
- Ad Types - pick the right ad format.
Troubleshooting
Section titled “Troubleshooting”If the plugin will not activate, confirm PHP 7.4+ and WordPress 5.8+, then check the error log. See Common Issues.