Installation & Quick Start
BuddyPress Auto Friends overviewPremiumGet BuddyPress Auto Friends →
Before you install
Section titled “Before you install”BuddyPress Auto Friends requires the BuddyPress Friends component. Confirm it is active before activating the plugin:
- Go to Settings → BuddyPress → Components.
- Make sure Friend Connections is checked.
- Save changes.
If the Friends component is off when you activate the plugin, you will see a red admin notice and the plugin will deactivate itself. Enable the Friends component, then reactivate the plugin.
BuddyBoss Platform is also supported - it exposes the same Friends API BuddyPress does.
Install
Section titled “Install”- Download the plugin zip from your Wbcom Designs account at wbcomdesigns.com.
- In your WordPress admin, go to Plugins → Add New → Upload Plugin.
- Upload the zip and click Install Now.
- Click Activate Plugin.
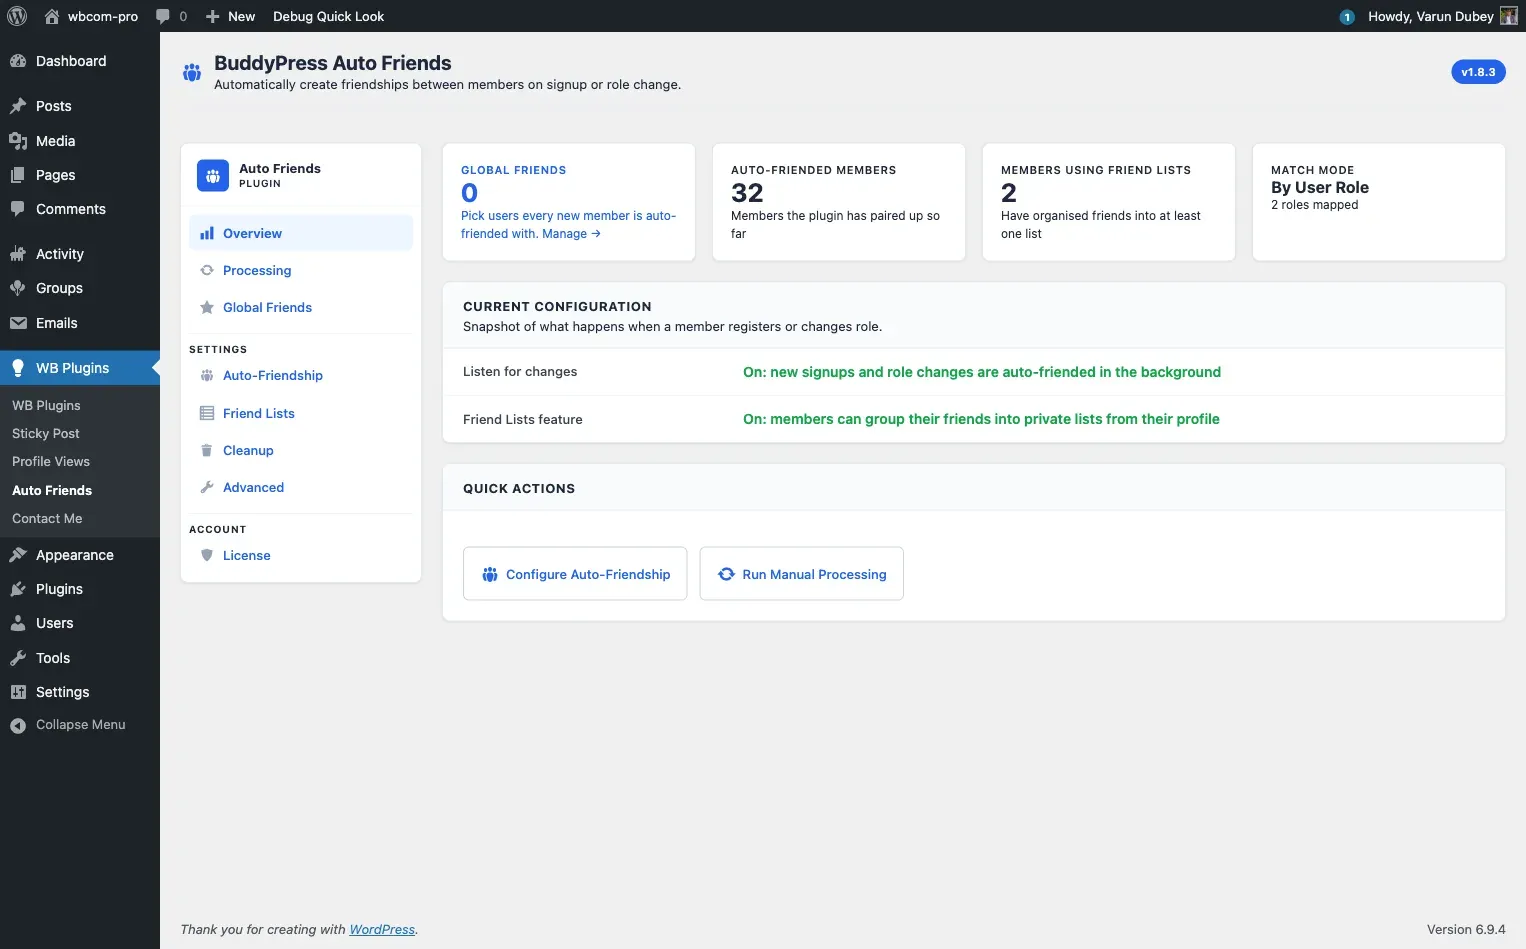
After activation, you are redirected to WB Plugins → Auto Friends → Overview.
Quick start: three steps
Section titled “Quick start: three steps”Step 1 - Pick a welcome-group mode
Section titled “Step 1 - Pick a welcome-group mode”Go to WB Plugins → Auto Friends → Auto-Friendship.
Under “Identify them by,” choose:
- WordPress user roles - the welcome group is every existing member who holds one of the roles you tick below.
- BuddyPress member types - the welcome group is every existing member who holds one of the member types you tick below. This option only appears if your site has registered BuddyPress member types.
Step 2 - Tick the roles or member types
Section titled “Step 2 - Tick the roles or member types”A chip grid of all non-administrator roles (or member types) appears. Tick the ones whose members should form the welcome group. Every new signup will be auto-friended with every member currently holding any ticked role or type.
Use Select all or Clear all to manage the grid quickly.
Step 3 - (Optional) Add Global Friends
Section titled “Step 3 - (Optional) Add Global Friends”Scroll down to “People Every New Member Starts Off Friends With.” Use the search box to find specific users - support staff, community managers, founders - and add them. These individuals are friended with every new signup on top of the role/type pool.
Click Save Changes. From this point, every new registration triggers automatic friendship creation.
Backfill existing members
Section titled “Backfill existing members”If your site already has members when you install the plugin, go to WB Plugins → Auto Friends → Overview and click Welcome existing members now. This one-time sweep connects every existing member to the welcome group exactly as future signups will be.
You can track progress live on the Overview tab. The job runs in the background via WordPress cron and is safe to leave running.
Activate your license
Section titled “Activate your license”Go to WB Plugins → Auto Friends → License, paste your key, and click Activate License. This enables automatic update notifications in the WordPress admin.
See License Activation for the full walkthrough.