

This guide gets filters running on your store in under five minutes.
1. Confirm WooCommerce Is Active
Section titled “1. Confirm WooCommerce Is Active”The plugin requires WooCommerce. If it is not installed, deactivate this plugin, install WooCommerce, then come back.
2. Check the Default Preset
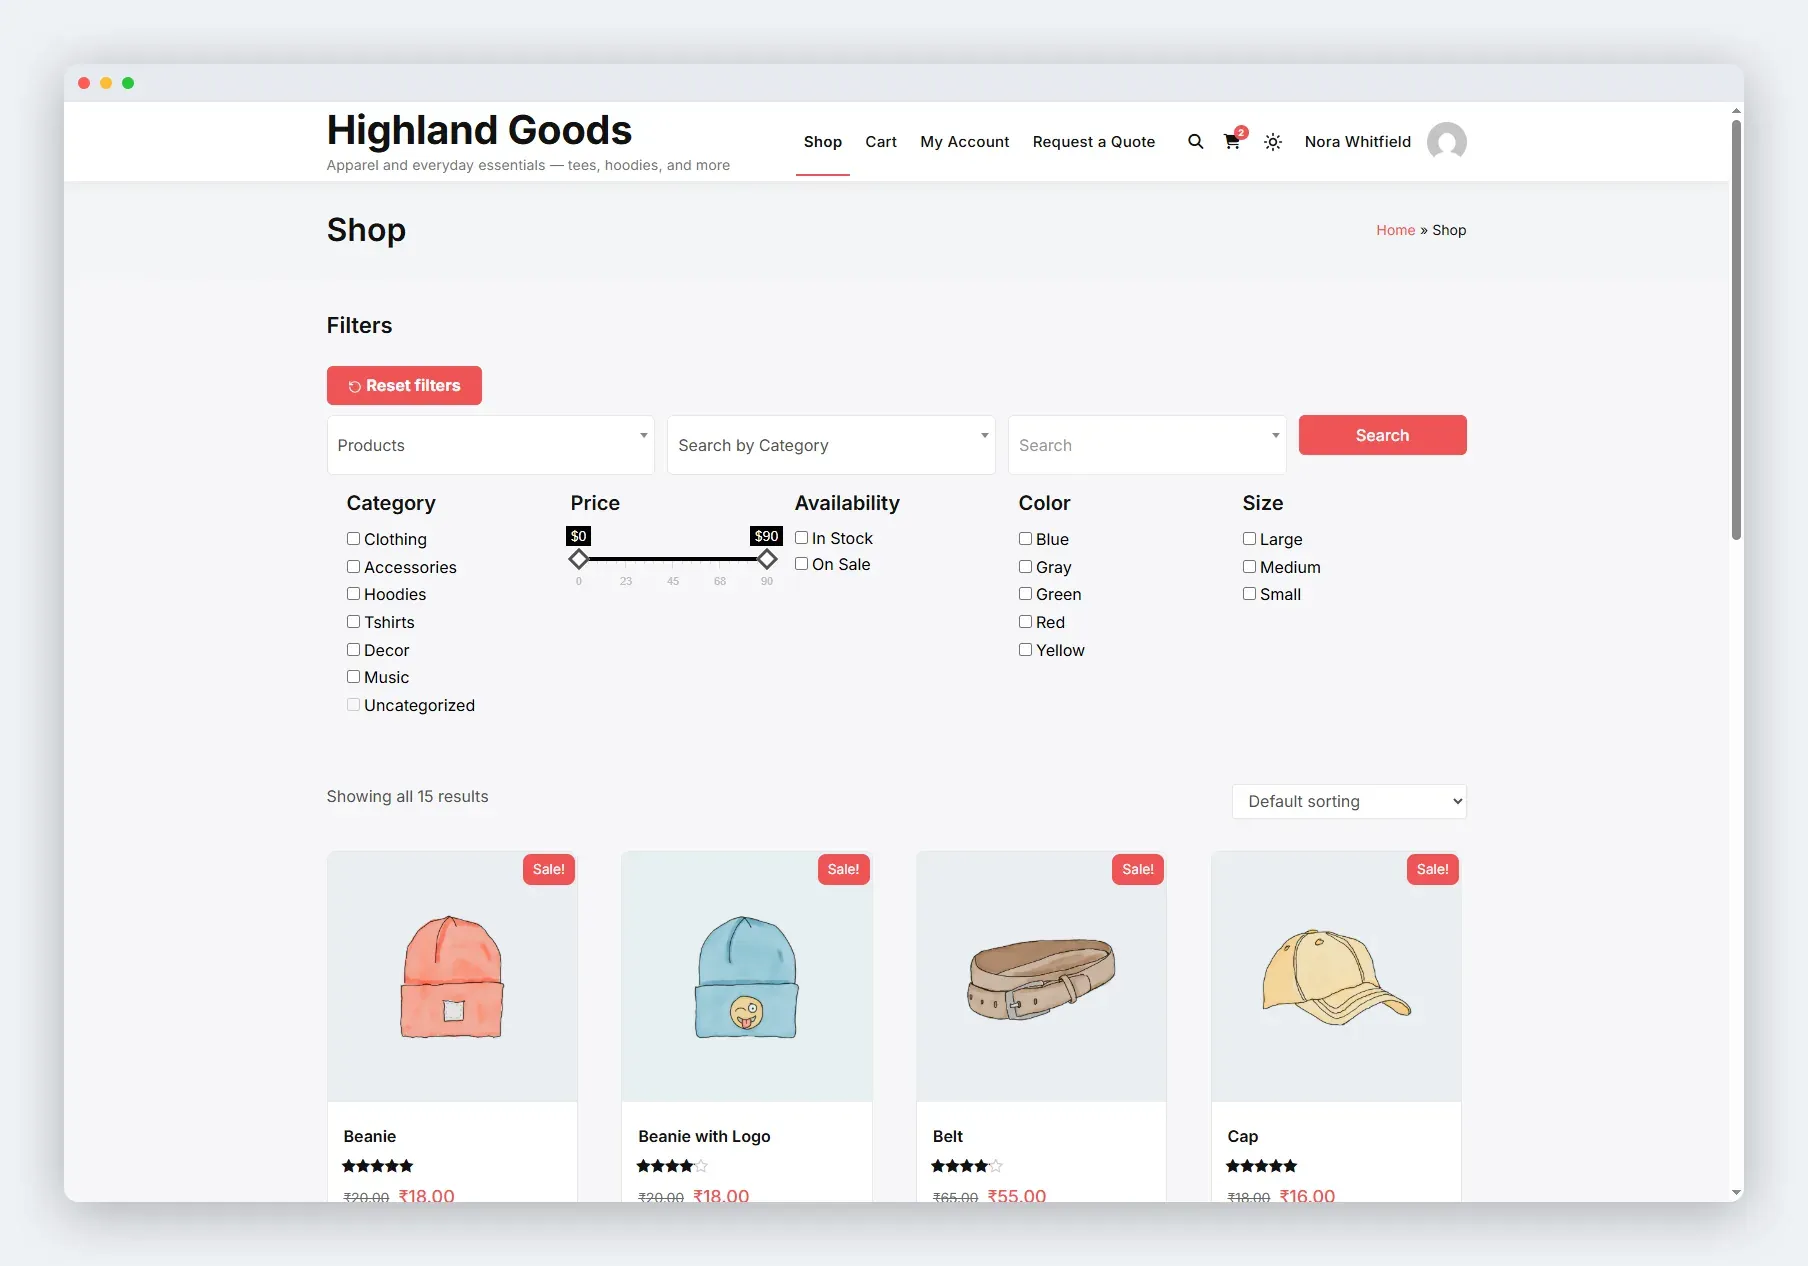
Section titled “2. Check the Default Preset”After activation, a Default preset is already created and enabled. You can see it at WB Plugins → Ajax Filter → Your Filters.
The Default preset includes:
- Category filter (checkboxes)
- Price slider
- Availability (in stock / on sale toggles)
- One filter per product attribute that has terms on your site
You can edit, disable, or delete this preset and create your own.
3. Display Filters on Your Store
Section titled “3. Display Filters on Your Store”Option A: Automatic (Classic Themes)
Section titled “Option A: Automatic (Classic Themes)”On classic themes, filters appear automatically on WooCommerce shop, category, and tag archives. No setup required.
Option B: Shortcode
Section titled “Option B: Shortcode”Place [wb_ajax_filters] on any page, post, or widget area. This renders every enabled preset.
To render a specific preset by its slug:
[wb_ajax_filters slug="your-preset-slug"]Option C: Gutenberg Block
Section titled “Option C: Gutenberg Block”- Edit a page, post, or template in the Block Editor.
- Add the Ajax Product Filters block (under the WooCommerce category).
- Pick a preset from the block sidebar dropdown.
- Save.
The block works in block themes, the Site Editor, and classic themes with block support.
4. Test It
Section titled “4. Test It”Visit your shop page. You should see filter fields – category checkboxes, a price slider, availability toggles. Adjust a filter and watch the product grid update without a page reload.
Next Steps
Section titled “Next Steps”- Create additional presets for different archive pages.
- Customize the filter appearance to match your brand.
- Set up search with live autocomplete.