Step 1) log in to the WordPress Dashboard.
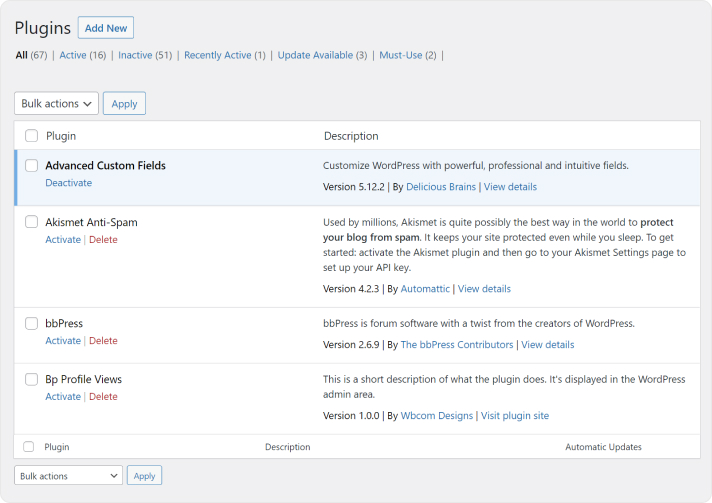
Step 2) On the Dashboard of your website, scroll down the left-hand sidebar and click on Plugins.
Step 3) From the Installed Plugins page, click on Add New at the top of the page. Alternatively, click on Add New from the drop-down menu under Plugins on the sidebar.
Step 4) On the Add Plugins page, type the BuddyPress Check-ins plugin in the search box on the right-hand side, at the top of the page.
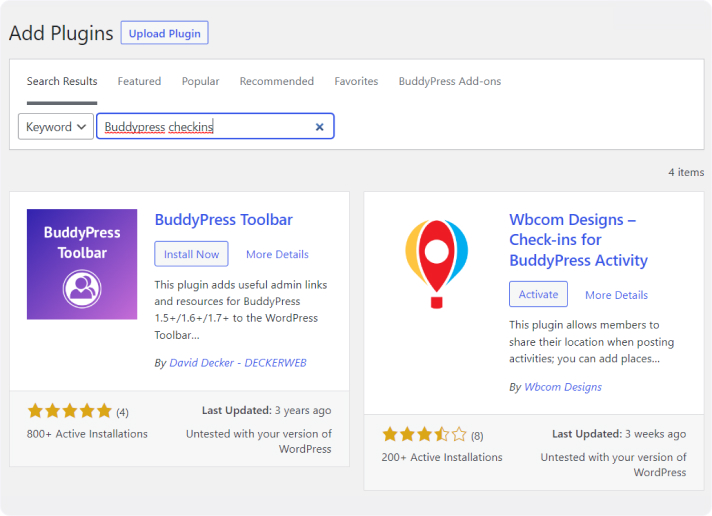
Step 5) From the Search Results page, scroll down to your chosen plugin and click the button marked Install Now. If you would like to learn more about your plugin, click the blue link marked More Details.
Step 6) The plugin is now installed and unpacked into your website. The last thing to do now is clicking to Activate the Plugin.
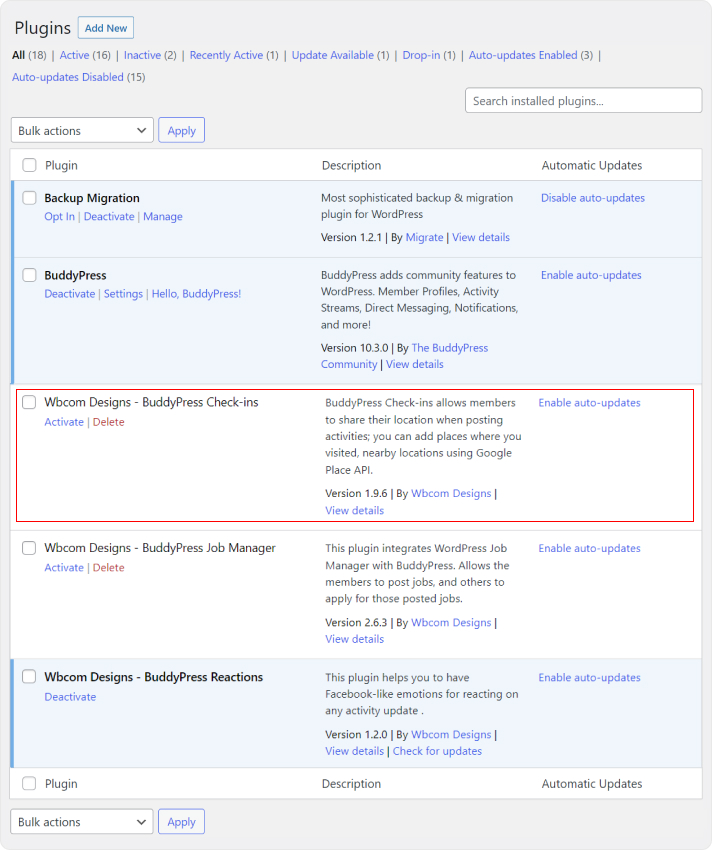
Step 7) Once activated, you will be redirected to the Installed Plugins page. From here, you can read all the info about the plugins.