WC Document Preview extends your single product page with a document preview sample. This feature makes a single product more informative and shareable among others.
This plugin requires WooCommerce and Document Files for every product.
Installation
Get The Plugin
- Here is the plugin purchase link. If you have already purchased the plugin, Login to Wbcom Designs go to MyAccount << Downloads
- Download the latest version of the plugin zip file.
Install Plugin
- Upload the “Woo Document Preview ” plugin to the “/wp-content/plugins/” directory via FTP.
- Activate the plugin through the “Plugins” menu. Alternatively, you can use WordPress Plugin installer from Dashboard >> Plugins >> Add New to Upload the plugin zip file. Click install and activate.
Setting up the plugin
No further setup is required for the plugin.
Using the plugin
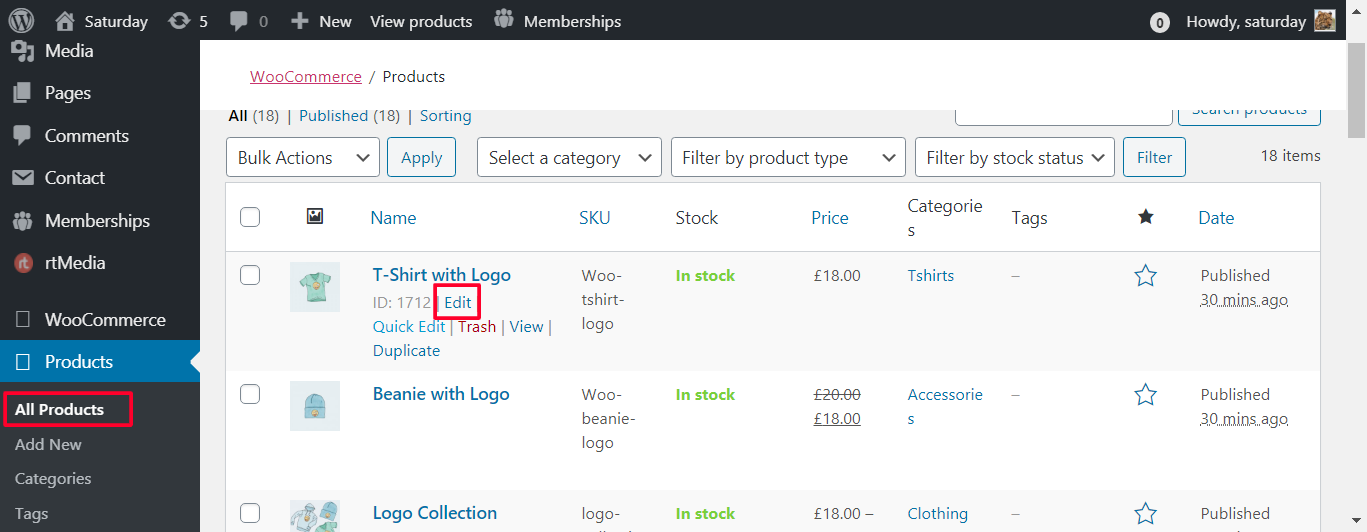
- Make sure you have WooCommerce installed. Navigate to wp-admin > Products > All Products.
- Click on the Edit option for any product page on which you want to add the document preview.
- Scroll Down. You will find a metabox named Preview item.
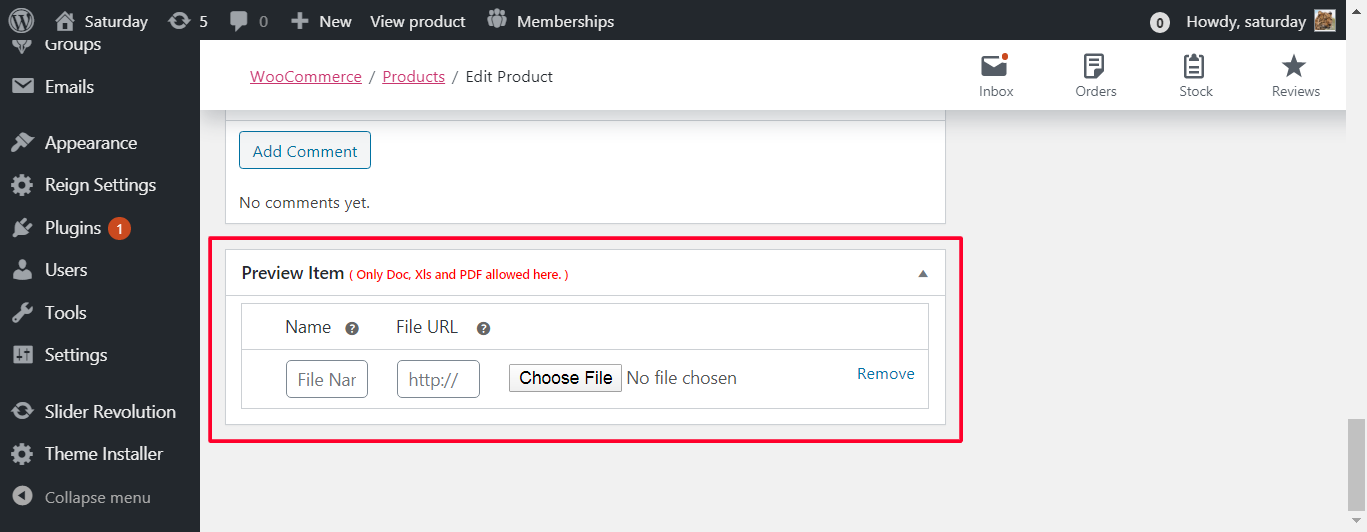
- Give a name to the document file and upload the document preview of your product. Click Update.
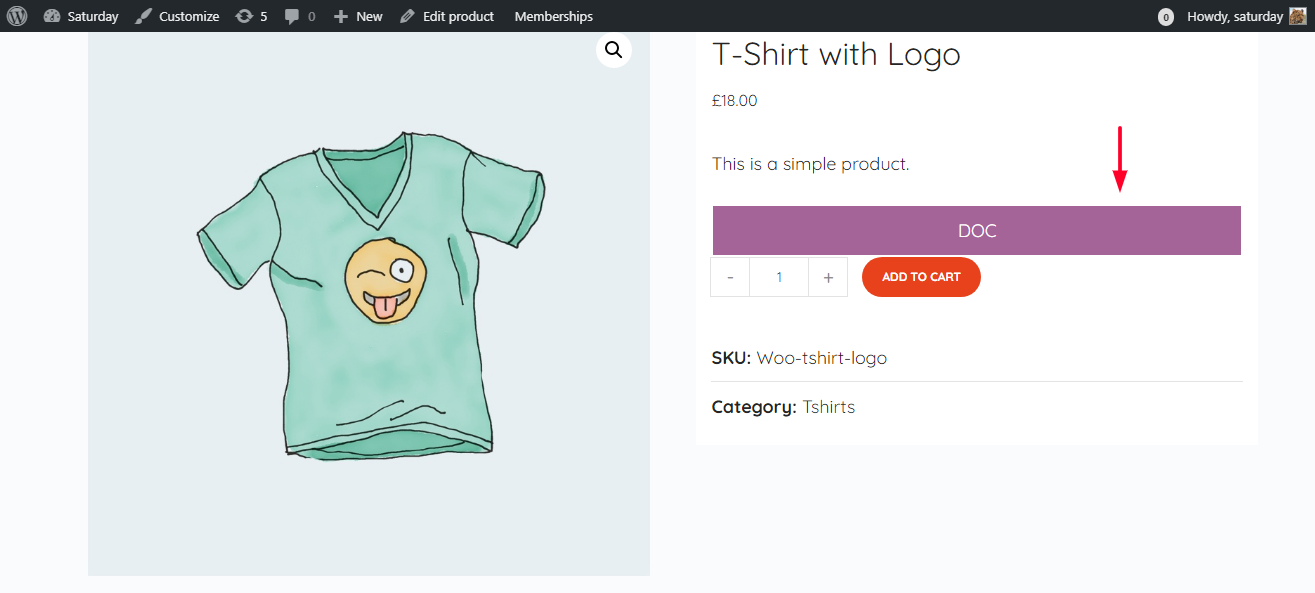
- Now View your Product. You will see the document preview button on the product page