

Installation & First-Run Setup
BuddyPress Sticky Post overviewPremiumGet BuddyPress Sticky Post →
Requirements
Section titled “Requirements”- WordPress 6.5 or later
- PHP 8.1 or later
- BuddyPress with the Activity component turned on, or BuddyBoss Platform
Install
Section titled “Install”Pick whichever method fits your workflow.
Upload via WordPress admin
- Download the ZIP from your Wbcom Designs account.
- Go to Plugins → Add New → Upload Plugin.
- Choose the ZIP and click Install Now, then Activate.
FTP / SFTP
- Extract the ZIP locally.
- Upload the
buddypress-sticky-post/folder towp-content/plugins/. - Activate from Plugins.
WP-CLI
wp plugin install /path/to/buddypress-sticky-post.zip --activateVerify activation
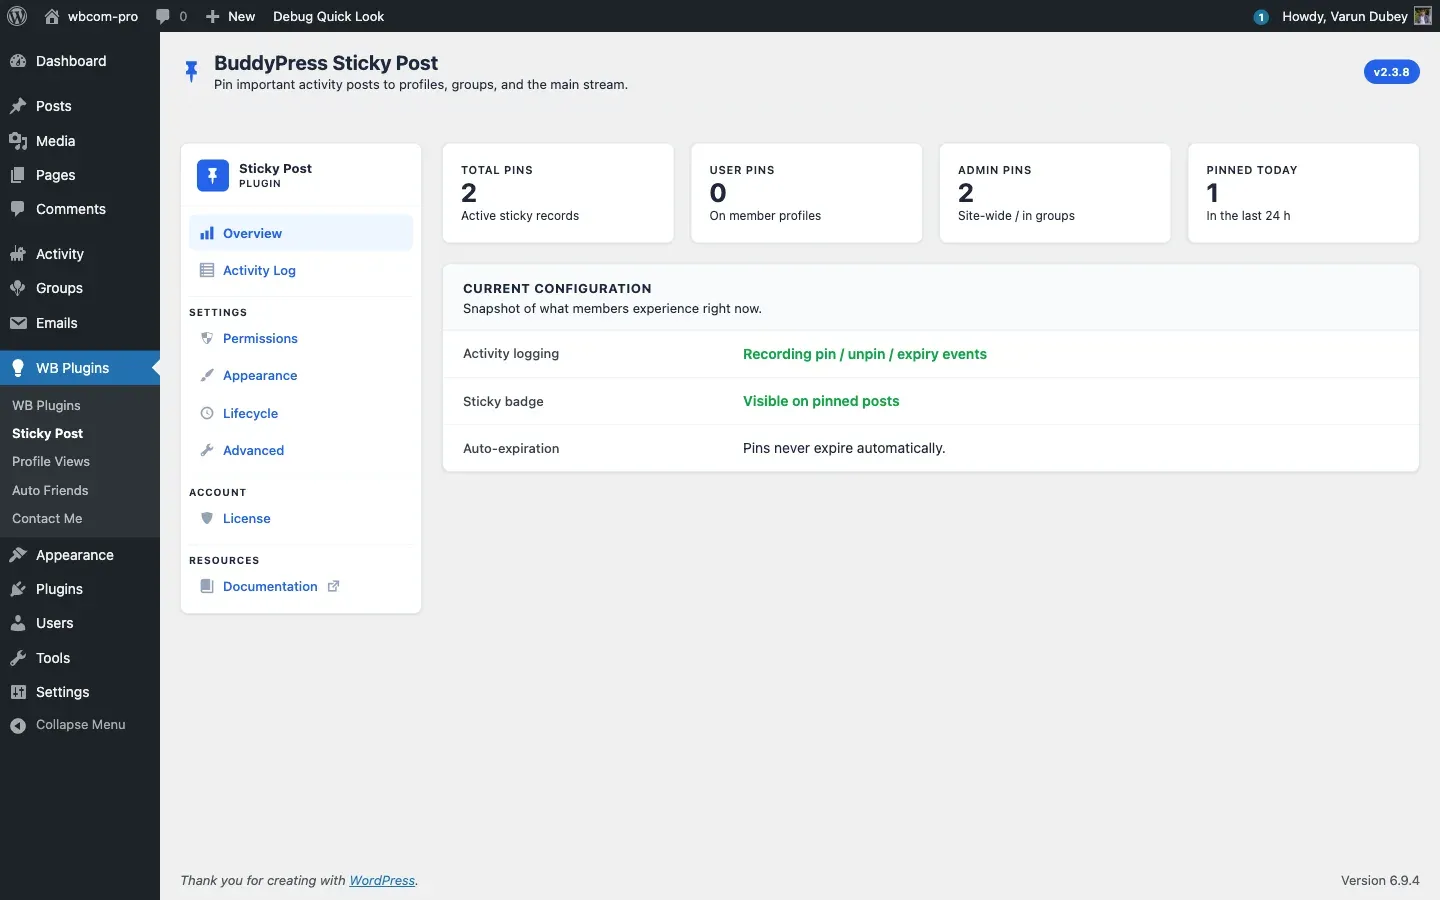
Section titled “Verify activation”After activation you should see WB Plugins → Sticky Post in the admin sidebar. The Overview tab loads with four counters (Total Pins, User Pins, Admin Pins, Pinned Today) and the current configuration snapshot.
First-run checklist
Section titled “First-run checklist”Five minutes to a working setup.
- Activate your license - open License, paste the key from your Wbcom Designs account, click Activate License. Updates and support stay paused until this step is done. See License Activation.
- Pick who can pin - open Permissions, tick the roles allowed to pin on their own profile. Site administrators can always pin sitewide; that does not need a checkbox. See Permissions Tab.
- Set pin caps - same Permissions tab, set Per user (default 1) and Per admin (site-wide) (default 0 = unlimited). See Pin Quotas.
- Decide the badge - open Appearance, confirm Show sticky badge is on, set the ribbon color. Without the badge, pinned posts look identical to regular ones. See Appearance Tab.
- Check logging - open Lifecycle, confirm Enable logging is on (it is by default) to keep a pin/unpin audit trail. See Activity Log.
Upgrading from 2.2.x or earlier
Section titled “Upgrading from 2.2.x or earlier”The 2.3.x series introduced custom database tables ({prefix}bpsp_sticky_posts and {prefix}bpsp_activity_logs) and migrated option-based pin storage to them.
- Back up your database.
- Update to the new version, then open any wp-admin page. On that first admin page load the plugin creates the tables, moves existing pins and logs into them, and sets
bpsp_migration_completed. - Open Advanced → Database Health to confirm both tables show All tables present and in use.
If the health check shows a missing table, deactivate and reactivate the plugin to recreate it.
Theme compatibility
Section titled “Theme compatibility”Designed and supported on Reign, BuddyX, and BuddyX Pro, and compatible with the BuddyBoss Theme. Reign and BuddyX Pro get alternate pin-button placement automatically. The pin button and ribbon otherwise render through the standard BuddyPress activity hooks, so any well-behaved BuddyPress or BuddyBoss theme should work. If your theme overrides activity templates, see Overrides.
What to read next
Section titled “What to read next”- Pin Activities - how members and admins actually pin posts.
- Pin Scopes - sitewide vs personal vs group, with examples.
- Common Issues - Pin button missing, sticky not staying, etc.