WordPress Custom Font Uploader lets you upload any custom font on your WordPress website. This plugin supports all the fonts in .ttf, .otf, and .woff format. You can also fetch fonts from Google Fonts.
Installation
Get The Plugin
- Here is the plugin purchase link. If you have already purchased the plugin, Login to Wbcom Designs go to MyAccount << Downloads
- Download the latest version of the plugin zip file.
Install Plugin
- Upload the “WordPress Custom Font Uploader” plugin to the “/wp-content/plugins/” directory via FTP.
- Activate the plugin through the “Plugins” menu. Alternatively, you can use WordPress Plugin installer from Dashboard >> Plugins >> Add New to Upload the plugin zip file. Click install and activate.
Setting up the plugin
To set up the plugin:
- Navigate to wp-admin > WB Plugins > Font Uploader > Upload Fonts
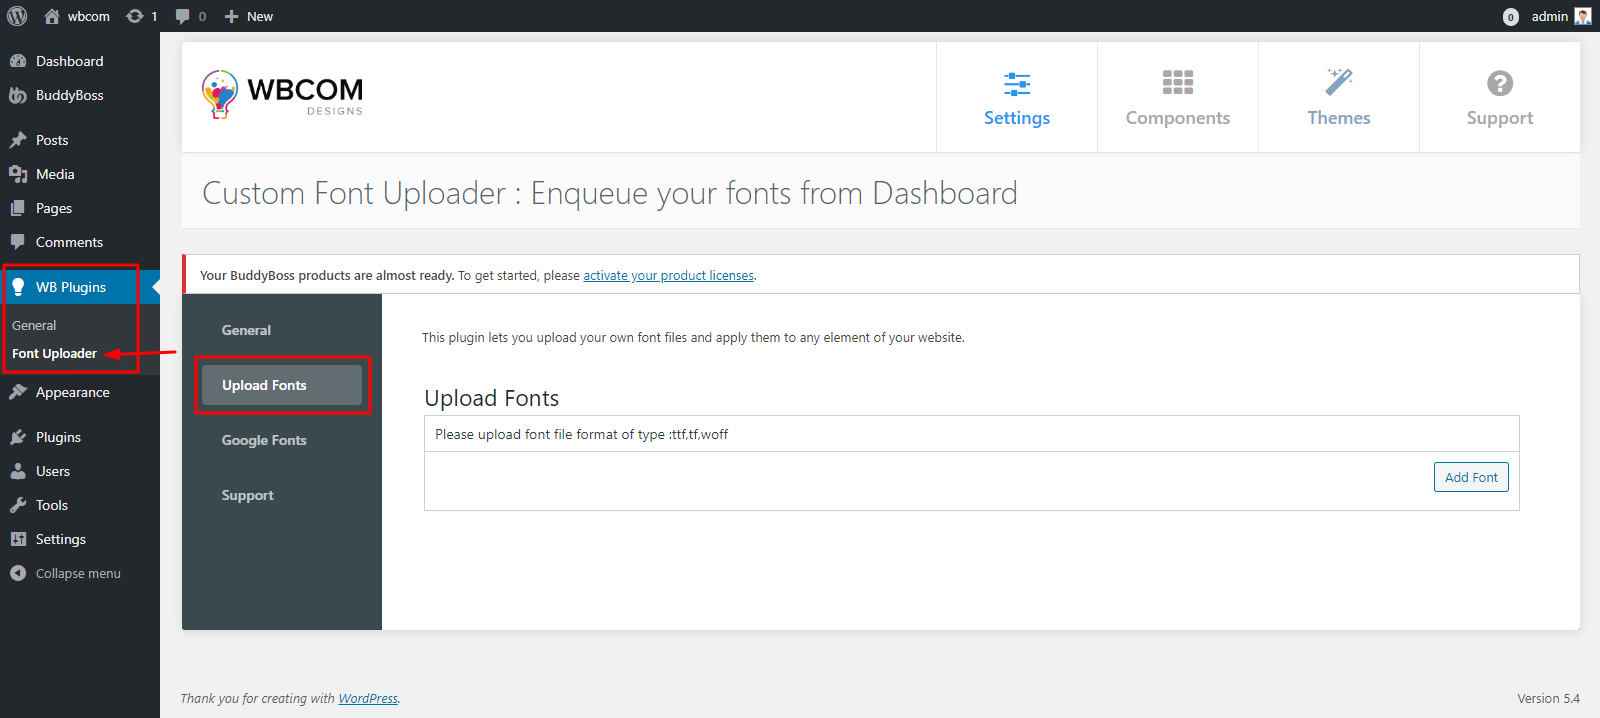
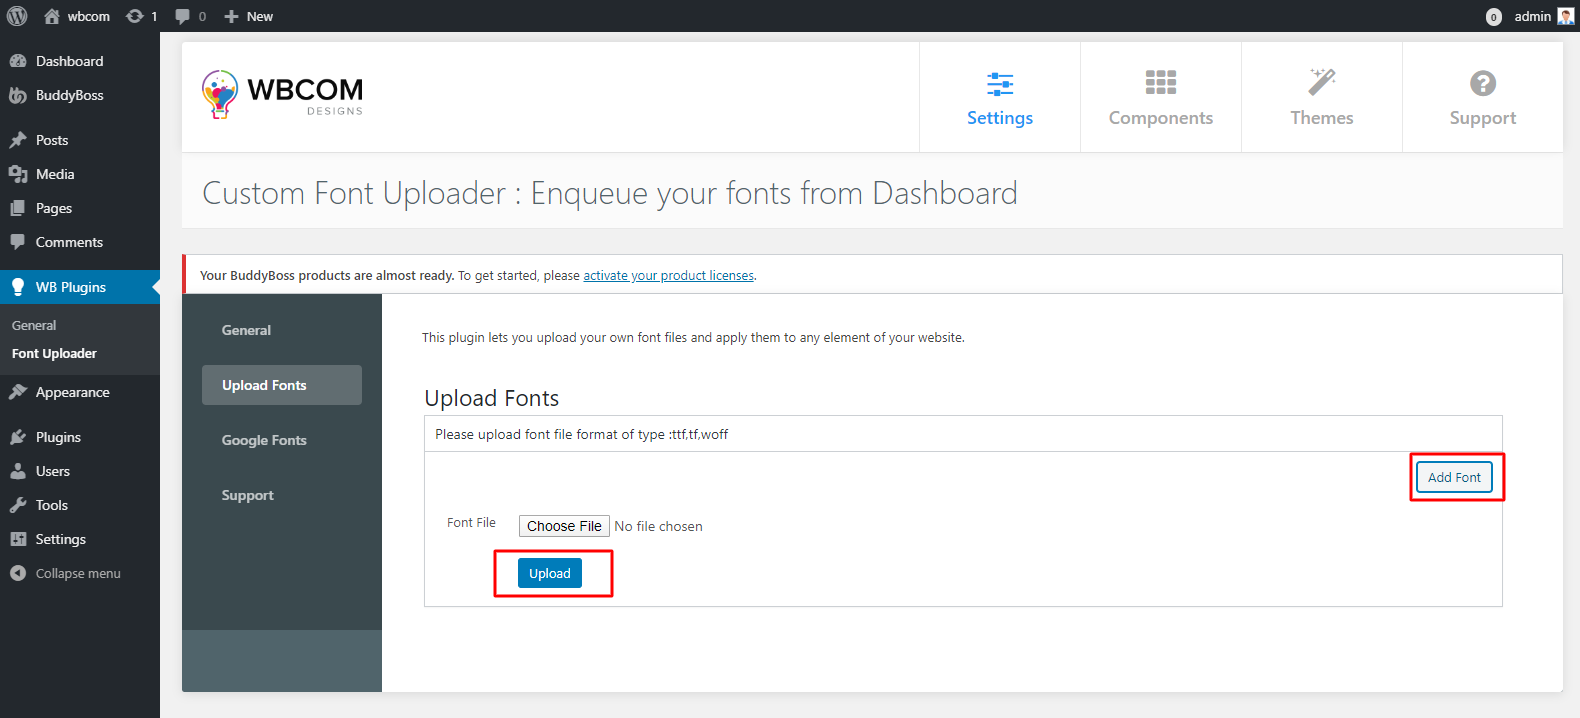
- Click on Add Font and Upload your Font.
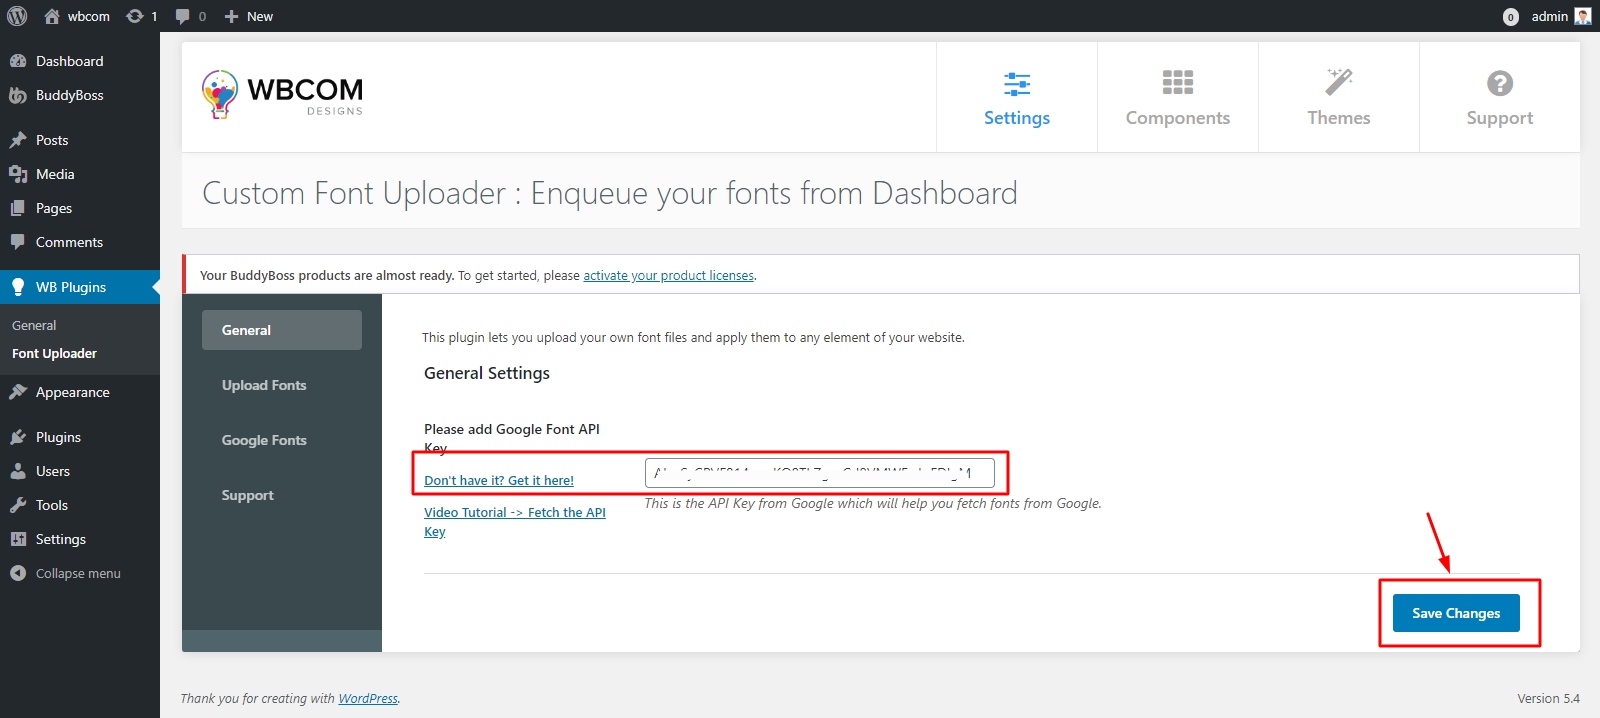
- Also, In General Tab, you can also use a Google Font API Key. Just click Don’t have it? Get it here option and paste your Google Font API Key. And Click Save Changes.
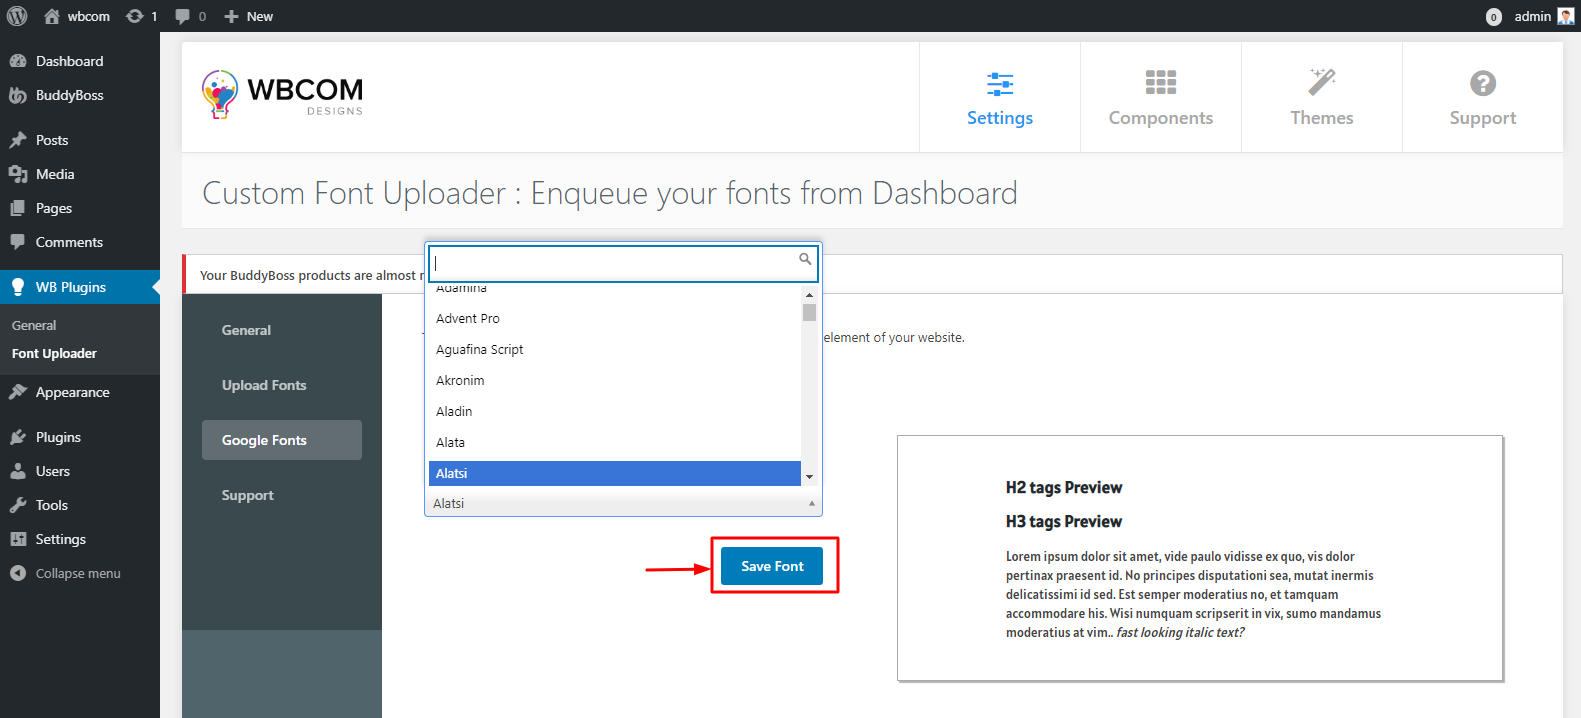
- Then Go to Google Fonts Tab and choose any Google Font to save and enqueue the font in your theme.
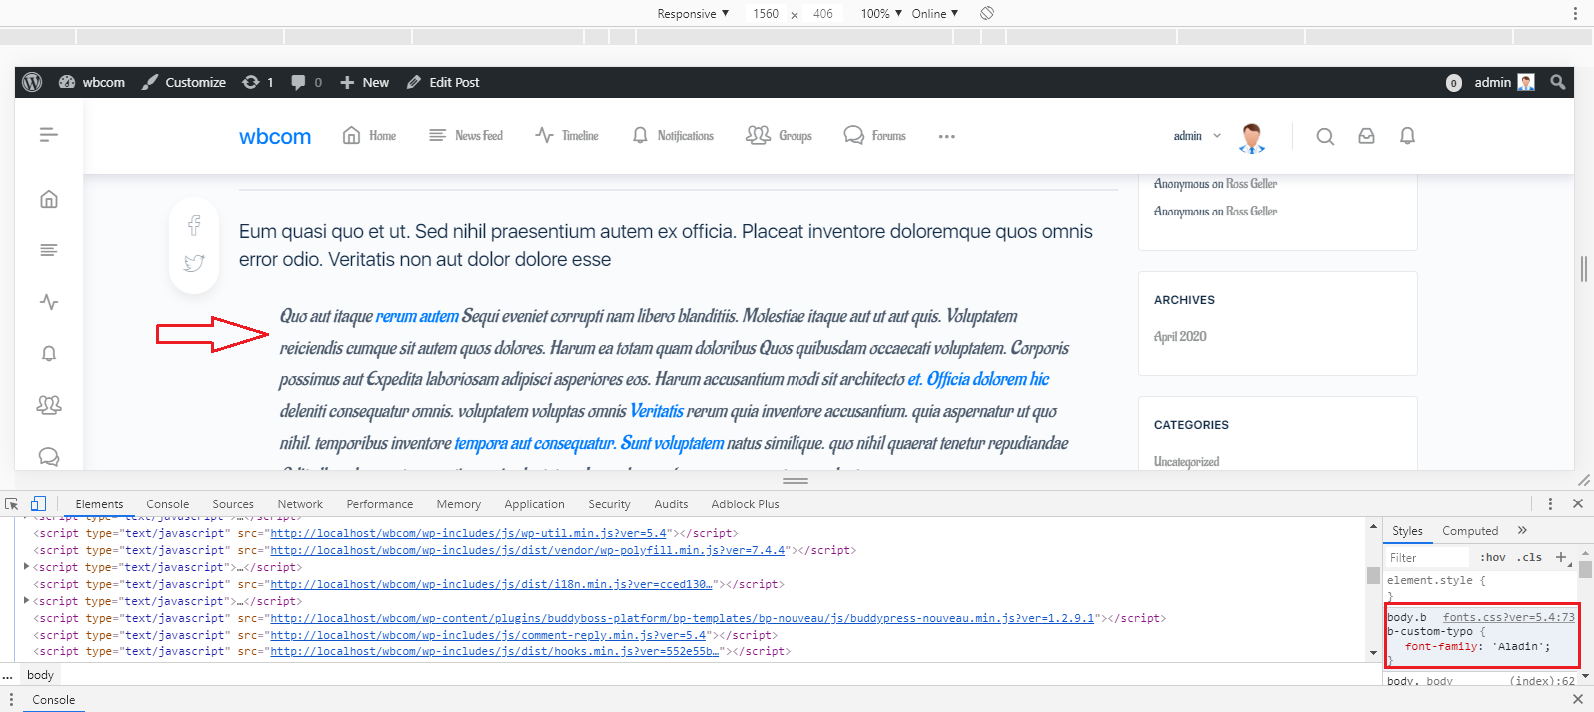
Using the plugin
The fonts that are uploaded or fetched from Google and saved are available for use and enqueued in your theme immediately.
To check that the enqueued fonts are being supported in your theme, you can inspect the element and change their font-family style.