BuddyX Pro theme lets you create an eCommerce shop and sell your products easily. With this theme, you can easily use WooCommerce extensions to make a powerful business store.
Sidebar Layouts
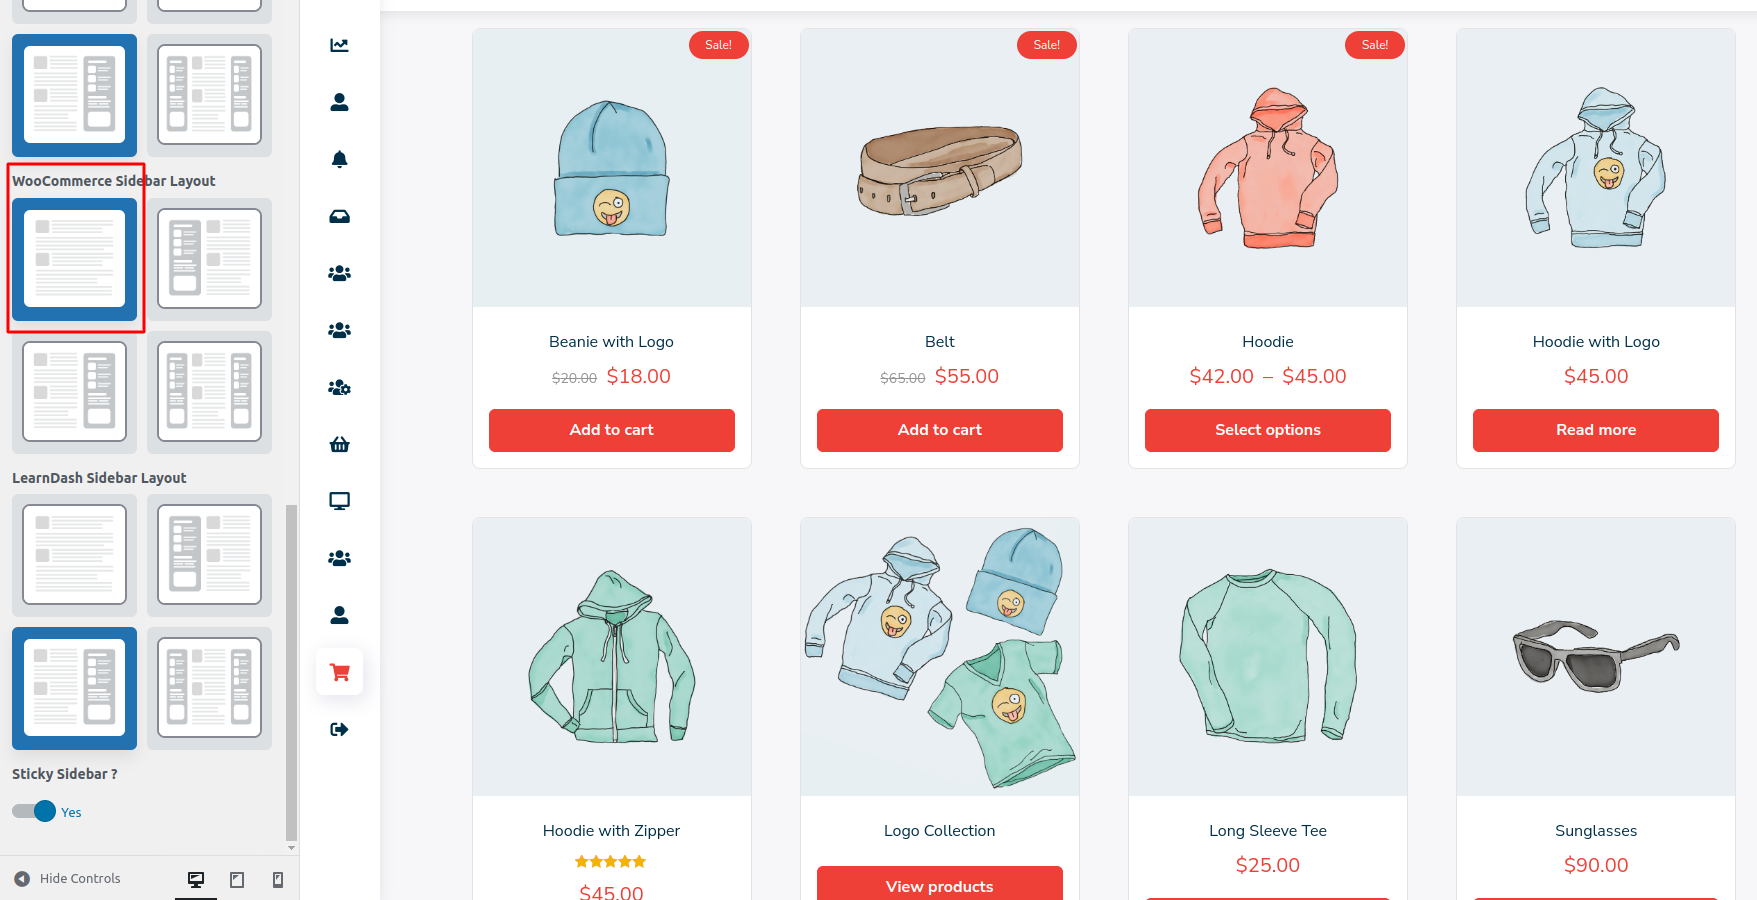
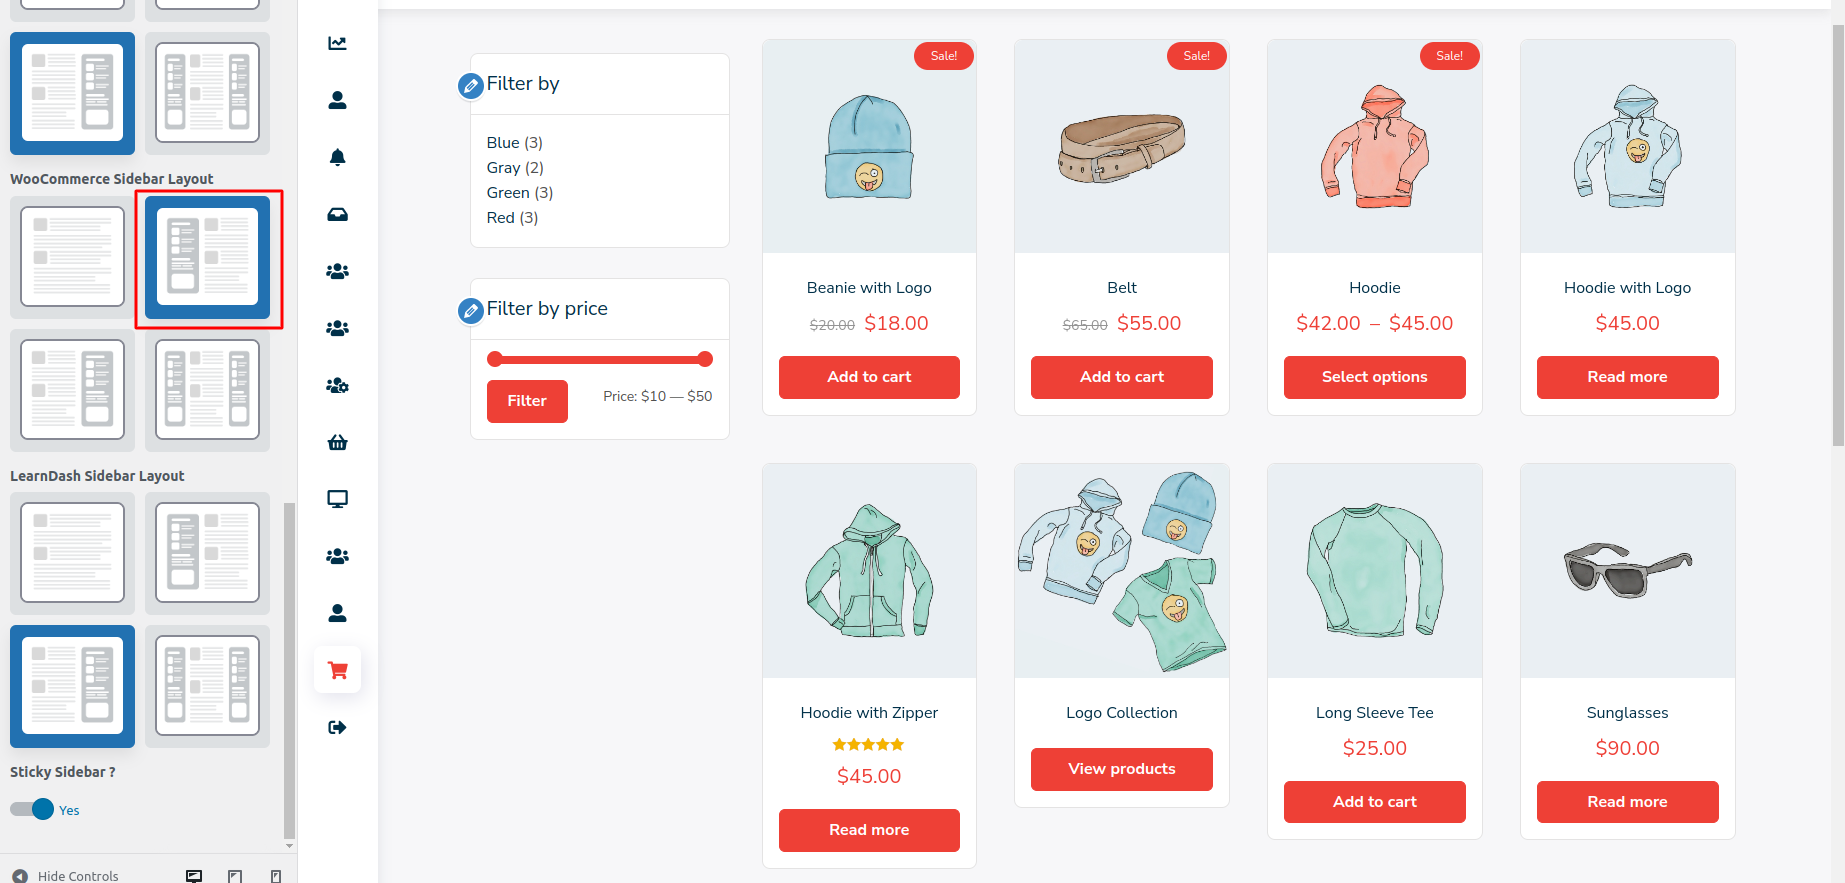
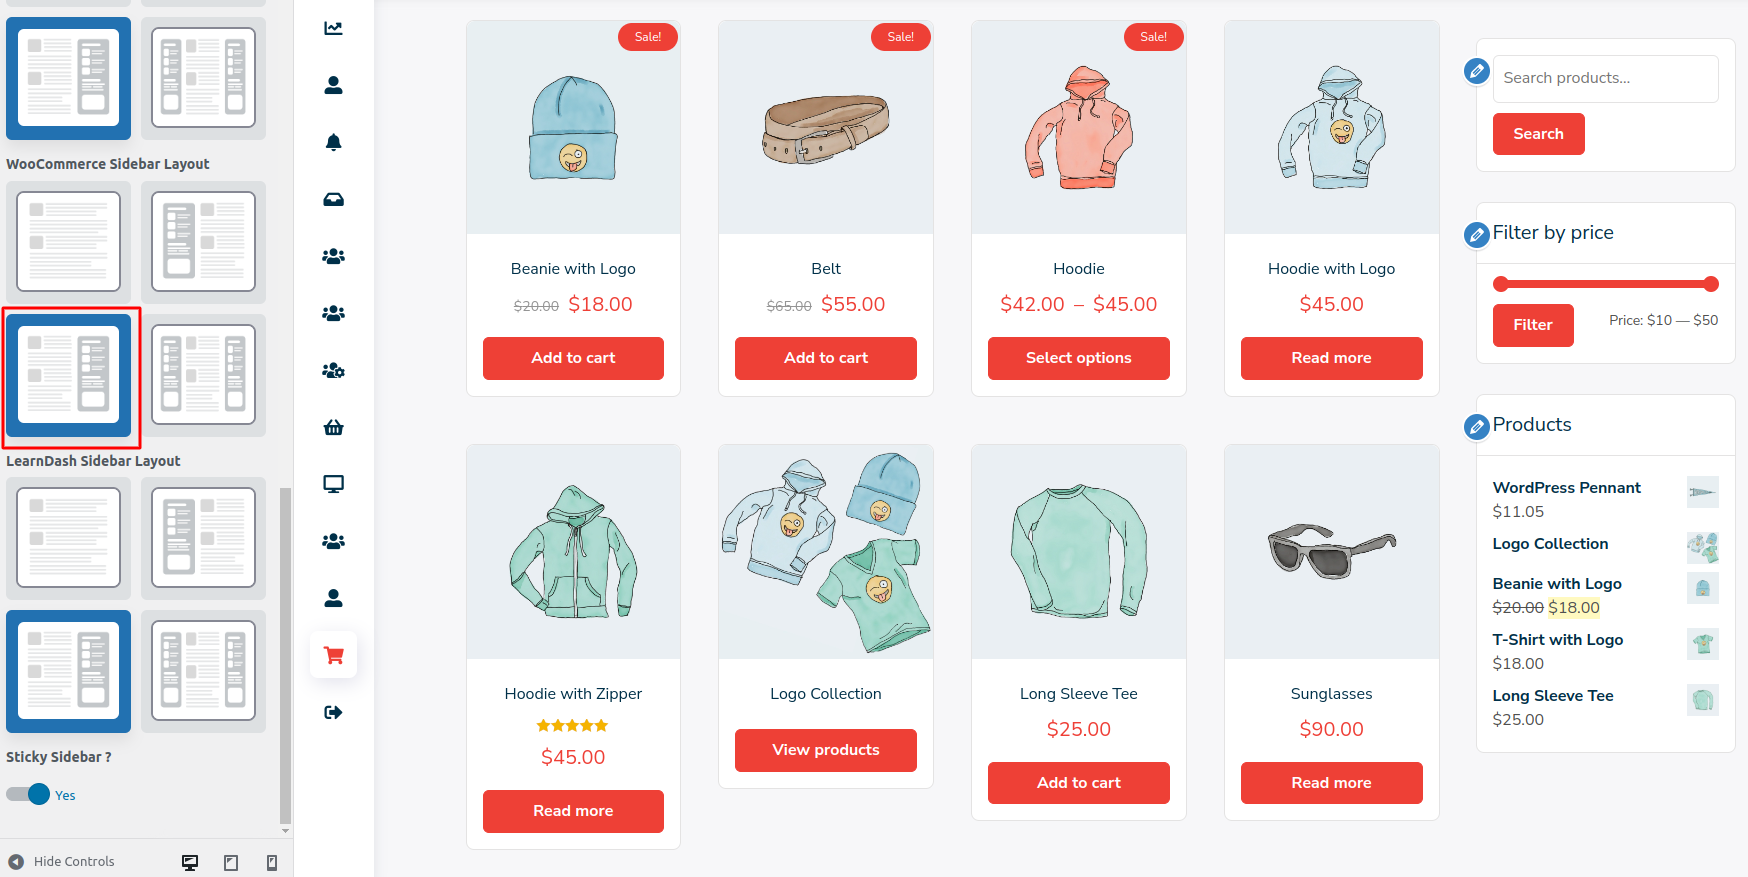
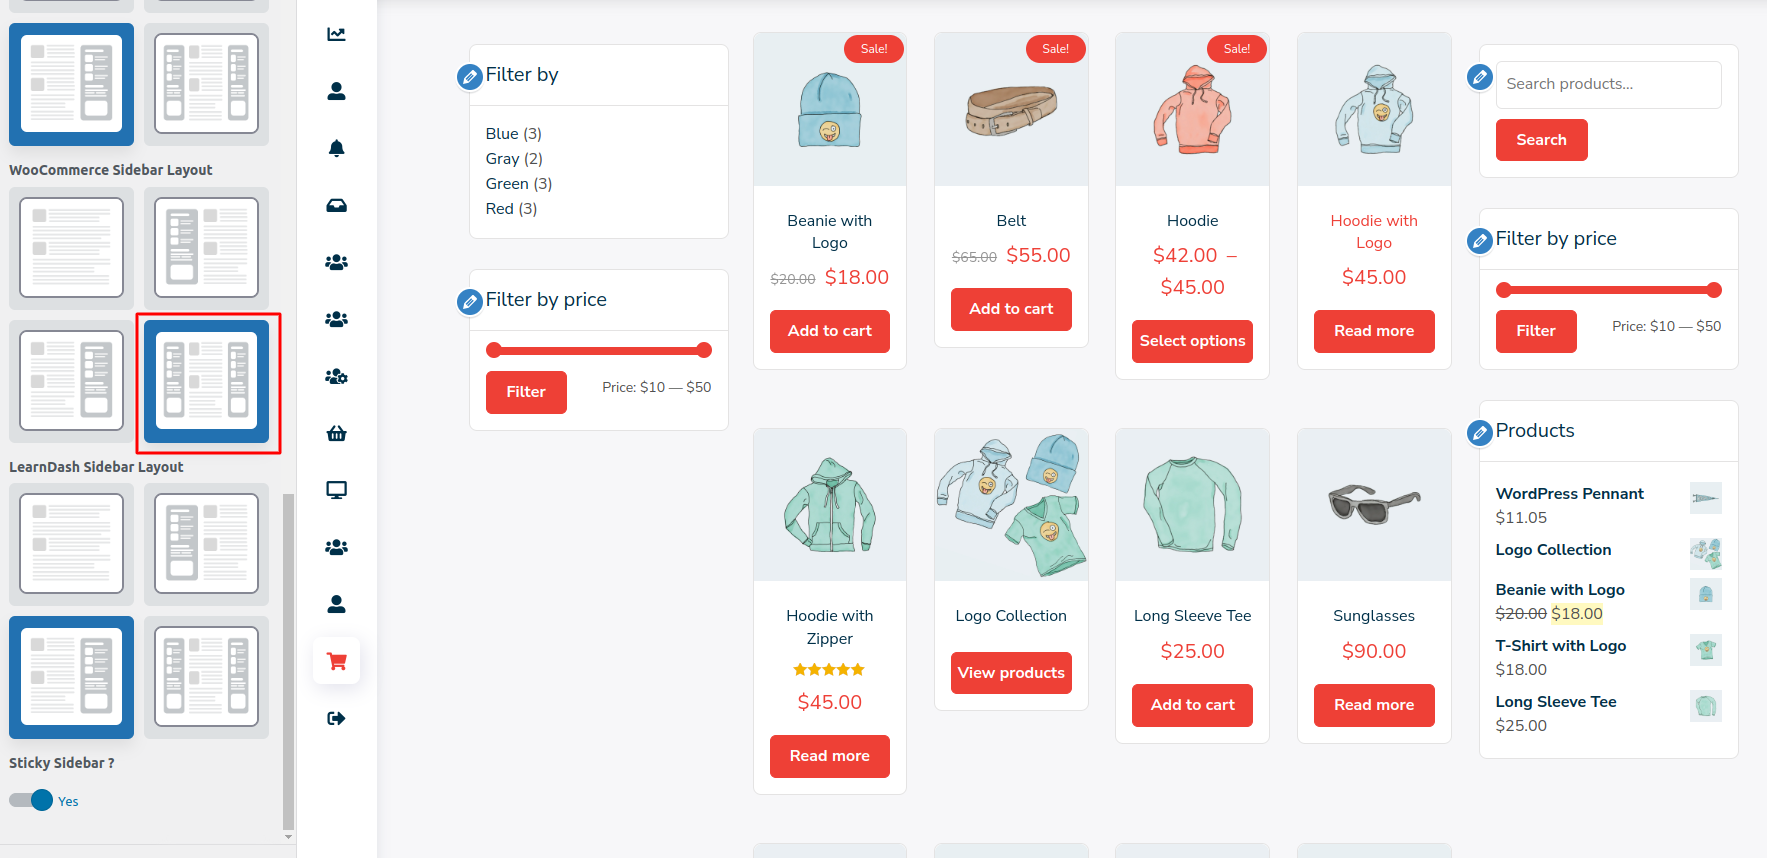
To find the setting, from WordPress dashboard navigate to Appearance >> Customize >> Site Sidebar >> Choose “WooCommerce Sidebar Layout”.
Set the sidebar layout for the Woocommerce pages. Following four different layouts are given.
- No Site bar Layout

- Left Sidebar Layout
- Right Sidebar Layout
- Both Sidebar Layout
Sidebar Widgets
BuddyX pro theme provides two different sidebar widgets for woocommerce. To find the widgets from the WordPress dashboard, navigate to Appearance >> Widgets >> and search for “WooCommerce Left Sidebar” or “WooCommerce Right Sidebar.”
Mini Cart in Header
You can add WooCommerce mini cart to the primary header with simple settings.
Make sure you have activated the WooCommerce plugin.
To find the setting from the WordPress dashboard, navigate to Appearance >> Customize >> Site Header >> choose “Site Cart Option.”
It will display a WooCommerce cart icon at the end of the primary menu.
Shop page Styles
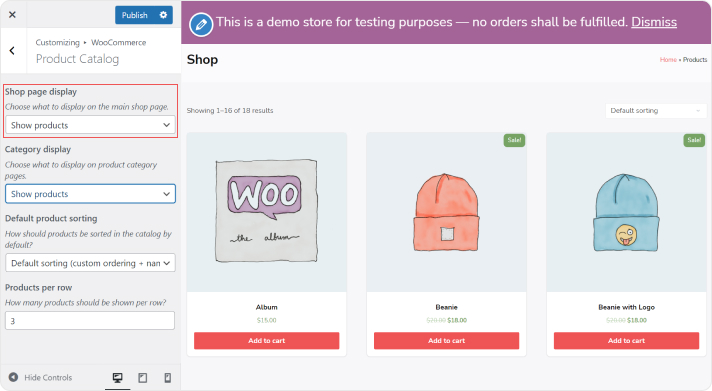
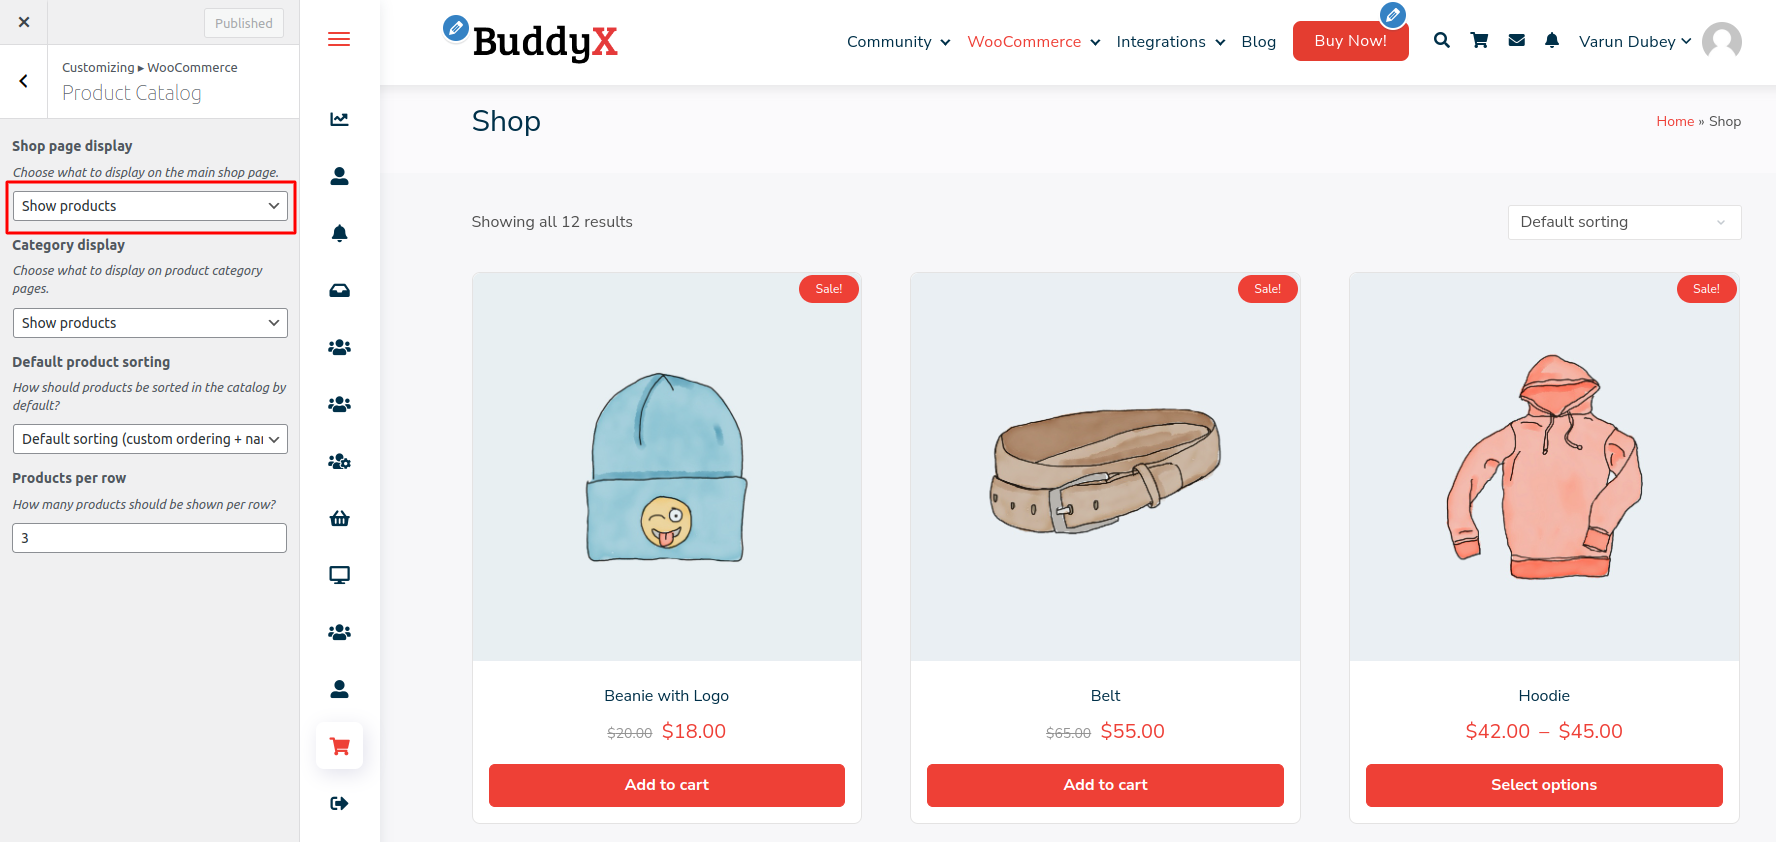
These settings help you to customize the shop page styles. You can find these options by navigating to the appearance >> Customizer >> Woocommerce >> Product Catalog.
- Shop Page Display: You can set what to display on the product page. The following options are given:
- Show Products
- Show Categories
- Show Categories and Products
- Category Display: You can set what to display on product category pages. The following options are given:
- Show Products
- Show subcategories
- Show subcategories and Products
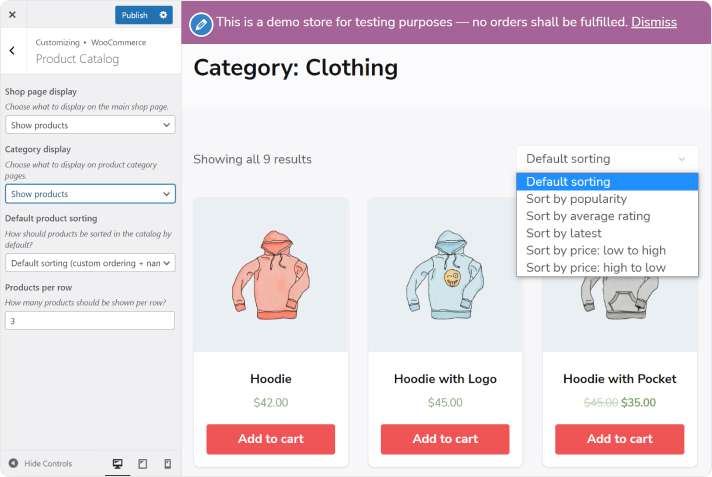
- Default product sorting: Set the default product sorting for the shop page: The following options are given below:
- Default Sorting
- Popularity
- Average Rating
- Sort by most recent
- Sort by Price (ASC: Ascending Order)
- Sort by Price (DESC: Descending Order)
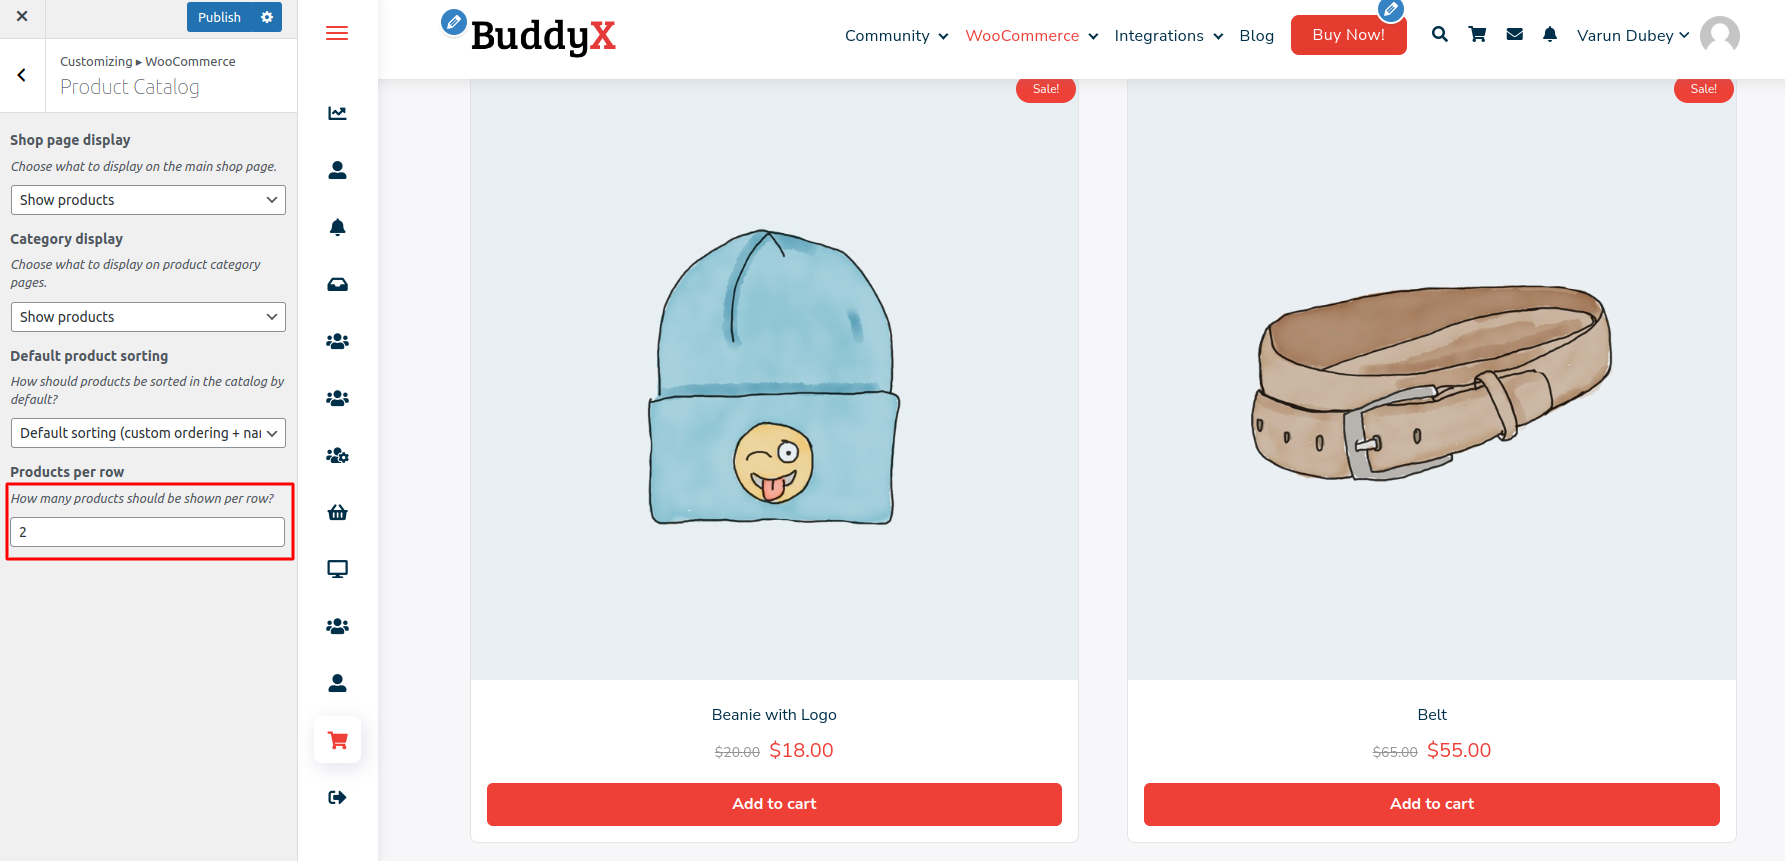
- Product Per Row: Set the number of products to be shown per row.
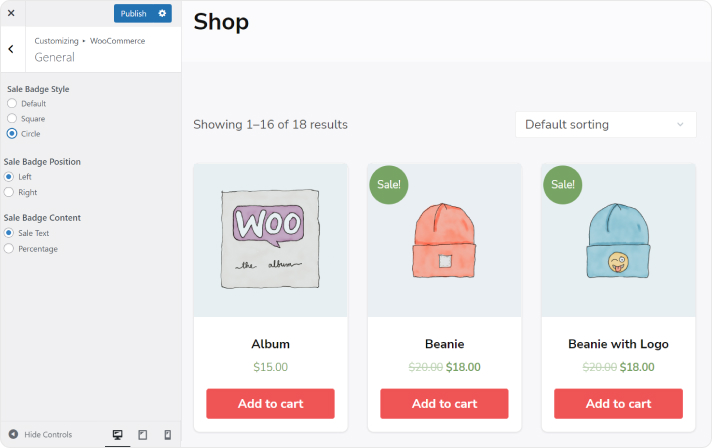
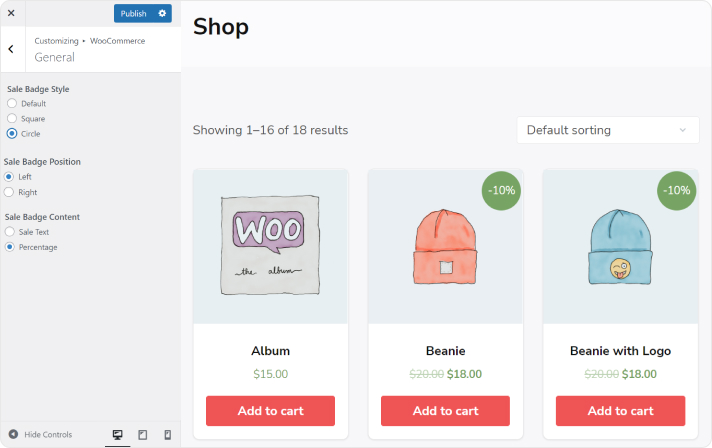
You also have some options for the management of sales badge positions and appearance. These settings will be reflected on both the shop and single product pages.
You can find these options by navigating to the appearance >> Customizer >> Woocommerce >> General.
- Sale Badge Style: Set the style of the sales badge. The following options are given for this:
- Default
- Square
- Circle
- Default
- Sale Badge Position: Set the position of the sales badge. The following options are given for this:
- Left
- Right
- Left
- Sale Badge Content: Set the content that you want to display on the sales badge. The following options are given below:
- Text
- Percentage of the sales amount
- Text
Checkout Page Customization
Some options are also given for checkout page management. These settings can be found by navigating to the Appearance >> Customize >> Woocommerce >> Widget.
These options are responsible for managing the fields of the checkout page.
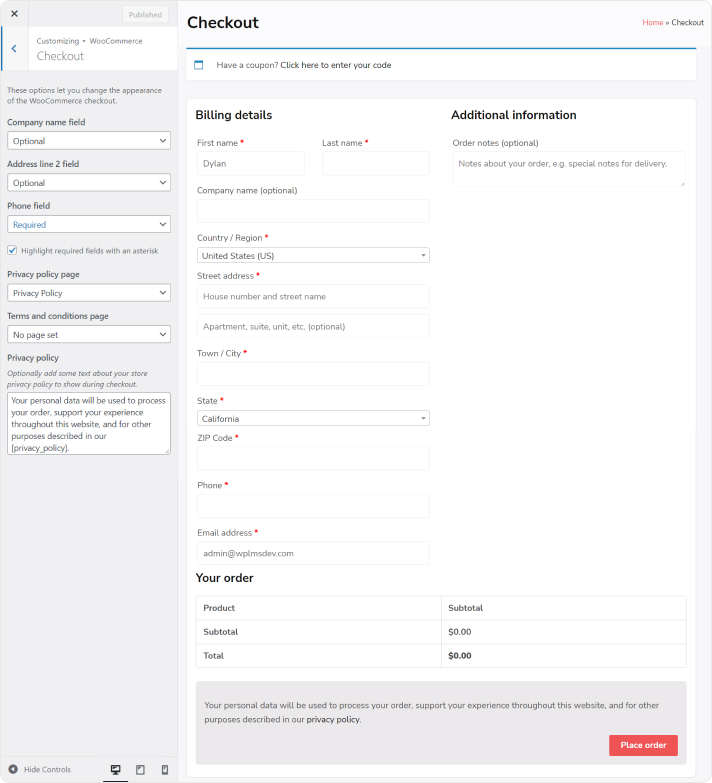
- Company name field: Set the Company Name field required or optional for the customers.
- Address line 2 field: Set the Address line 2 field required or optional for the customers.
- Phone Field: Set the phone field required or optional for the customers.
- Highlight the Required field with an asterisk: Check this box if you want to highlight the required fields with an asterisk.
- Privacy policy page: Set the Privacy Policy Page here.
- Terms and conditions page: Set the Terms and Conditions page here.
- Privacy policy: You can add some text about your store privacy policy to show during checkout.